Stellarium
Stellarium is my 1st Arduino project where I created an interactive constellation graph that lights up with a press of a button.
Materials Used
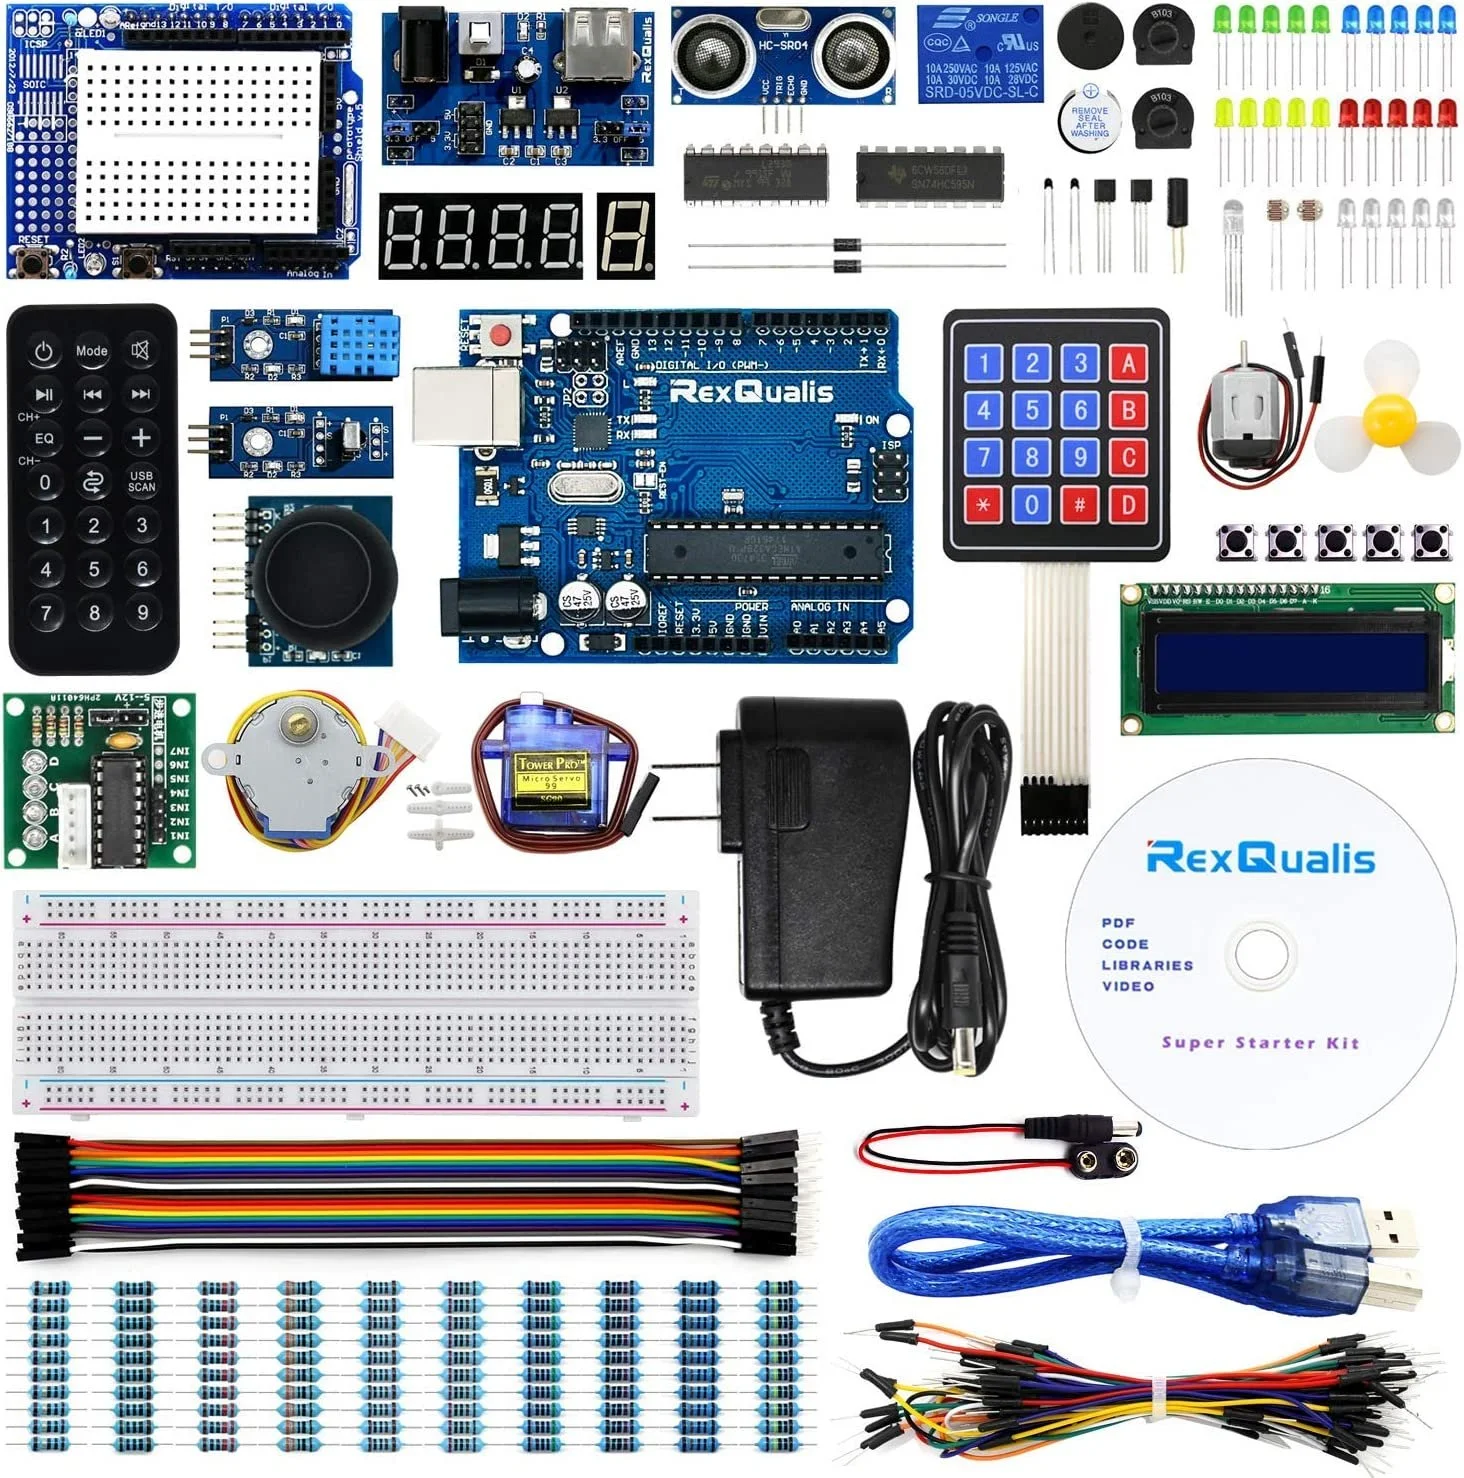
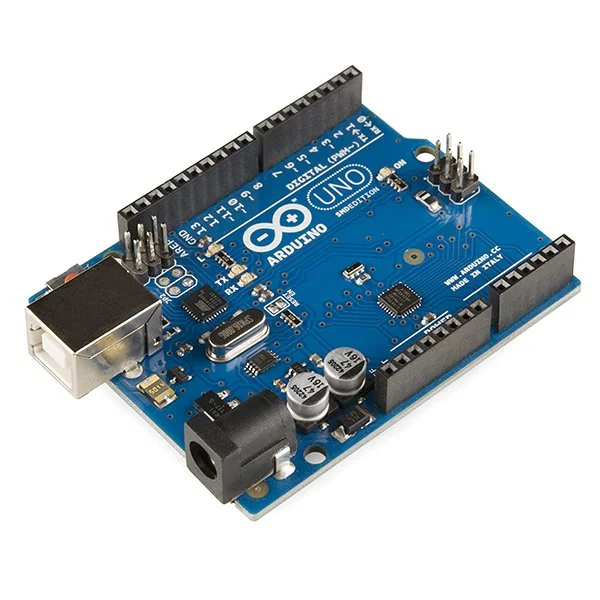
Arduino Kit
LED Lights
Acrylic Sheets
Button Component
Metal Rods
Tools Used
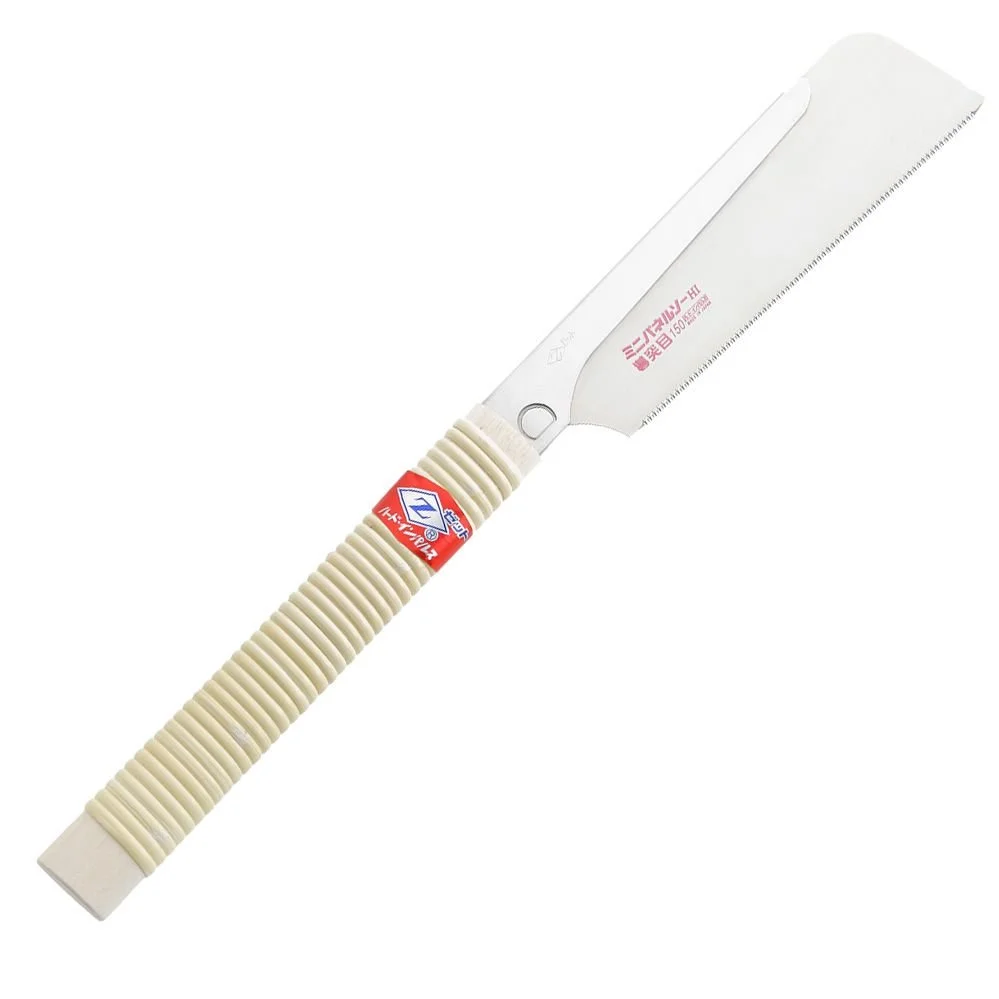
Japanese Hand Saw & Clamp
Laptop
Soldering Iron
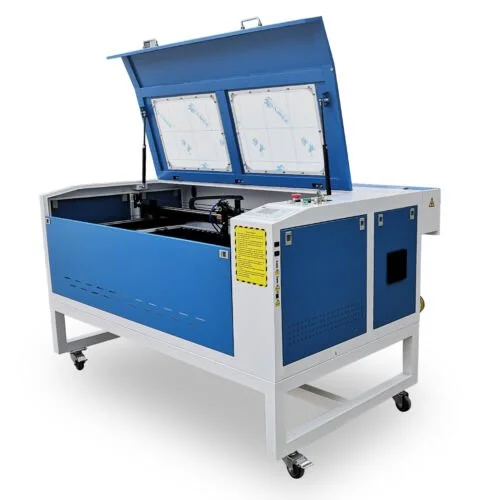
Laser Cutter
Arduino Program
Adobe Illustrator
Create anything using the Arudino and one component.
Timeline: 4 weeks.
Given Constraints
In the beginning, I was very intimidated seeing this Arduino kit in our supply list for class. I’ve never done this before and had always thought that extensive knowledge was necessary to make things work.
😖 My first time making electronic projects
I would have never thought of picking this skill up if it wasn’t for this class. It has opened even more creative possibilities for me as an artist. I use to think that it was only for math whiz’s. I’ve also never seen female role models do electronic projects. I wished there was someone like that in my life, which is why I now love to empower young girls about the joys of electronic projects.
💖This project is so special to me because
My Process
Thinking of topics I like: Walking through Grand Central Station was always my favorite part of my daily commute. It inspires many of my creations.
Making a mood board. This helps pinpoint what elements I want to incorporate in my project.
Choosing a focus: I wanted to make my project eye catching & beautiful. That’s why I chose to incorporate light.
Ideation
I created my first rough sketch of my idea and received feedback from my professor. He wanted me to try and think of how this project will interact with the real world which I agreed that it’s a valuable thing to think about.
Sketch
To laser cut my acrylic board, I first needed to illustrate the design. I made sure the diameters of the holes for the rods are a little smaller than 3/8 in order to have a snug fit when assembling. When depicting the stars in a 2 dimensional plane, you must choose the specific location, date, and time you are viewing it. I chose to capture my close friend’s birthday. This gave me the idea that this can be a great gift for loved one’s or to capture special dates.
Laser cutting
Linework on illustrator for laser cutting
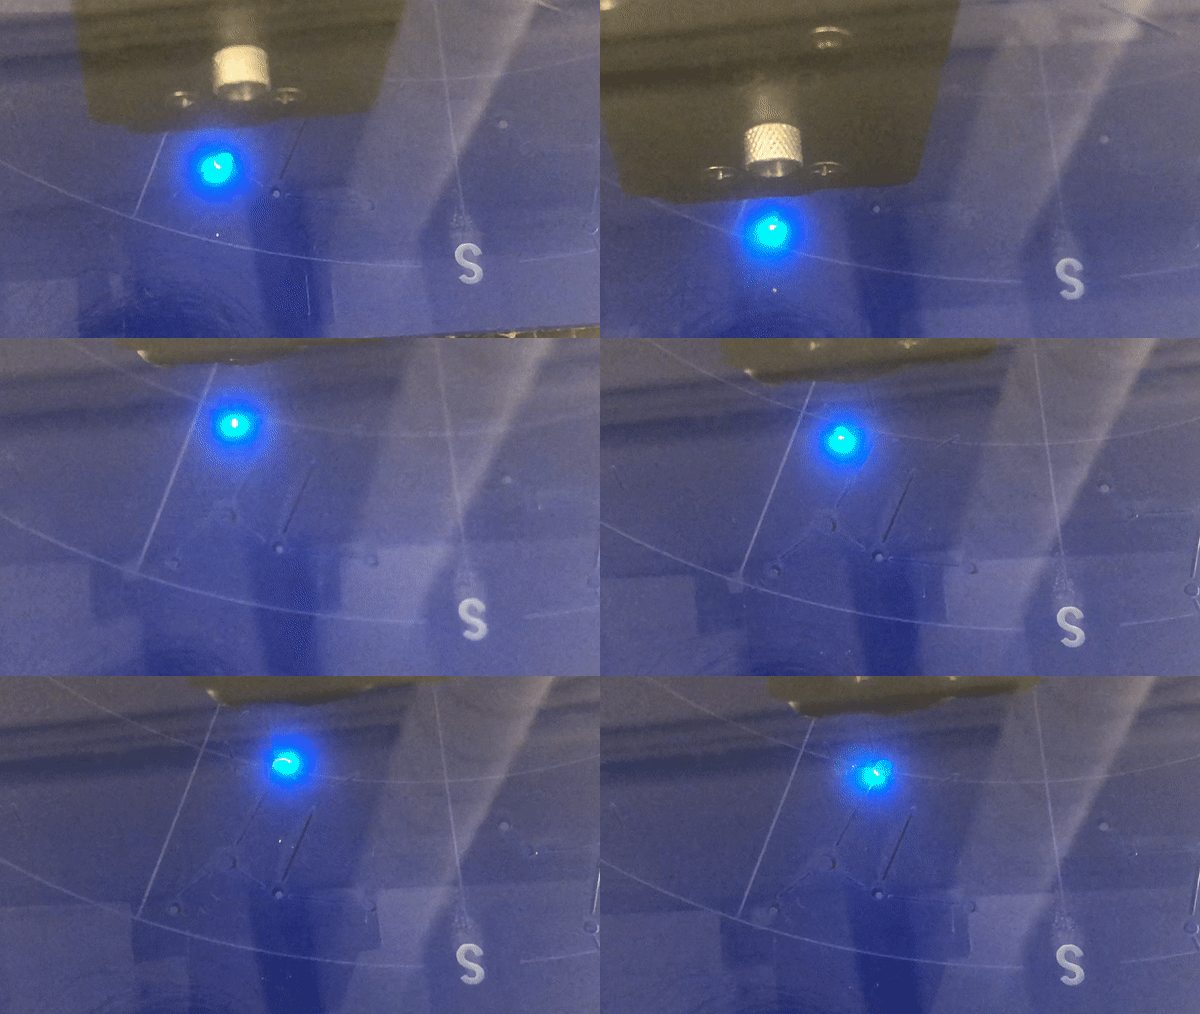
Laser cutting process
I was nervous 😣 for this step because I’ve never done laser cutting before.
I didn’t know if the etching would look clean, rough, or the lines too thin.
What if the shapes inside the constellation fall out?
It was cumbersome work to draw each hole and line. Was it all going to be worth it in the end?
This is why I was so excited when the cut piece came out perfectly! 🤩
Challenges
Fabricating
I sawed the metal rods,
sanded them smooth,
and fit the acrylic plates together.
Coding & Soldering Arduino
I first sketched out how I will lay out the electronics.
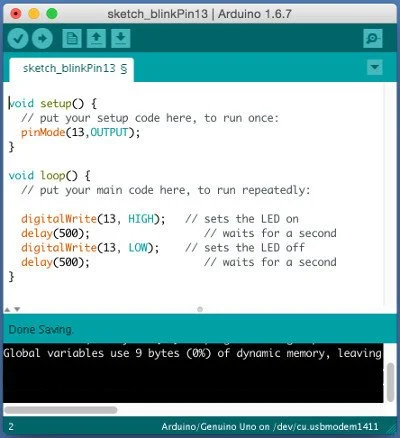
Then, I learned how to code & solder to bring my idea to life through DT Study, Googling, FastLED library on Arduino.
Soldering
Code
Version 1: Constellation Graph or Constellation Diagram
Version 2: Constellagraph or Constellagram
Version 3: Stellagraph or Stellariam
Naming my Creation
I was so happy🥰 to receive feedback about how great it looks because that was one of my intentions for this project as mentioned in the ideation step.
Presenting & Receiving Feedback from Professors
Have the buttons indicate the different types of constellations such as ones in the southern hemisphere vs the north, etc.
Attach rotation device (turned manually by hand) that can also be hung up on the wall.
Add speakers → when buttons are pressed, there will be narration about the constellations.
Make it twice as large, it will be easier to see and will look better as well.
Create a container for Arduino and wires.
Next Steps
Final Product
Check out my next project:
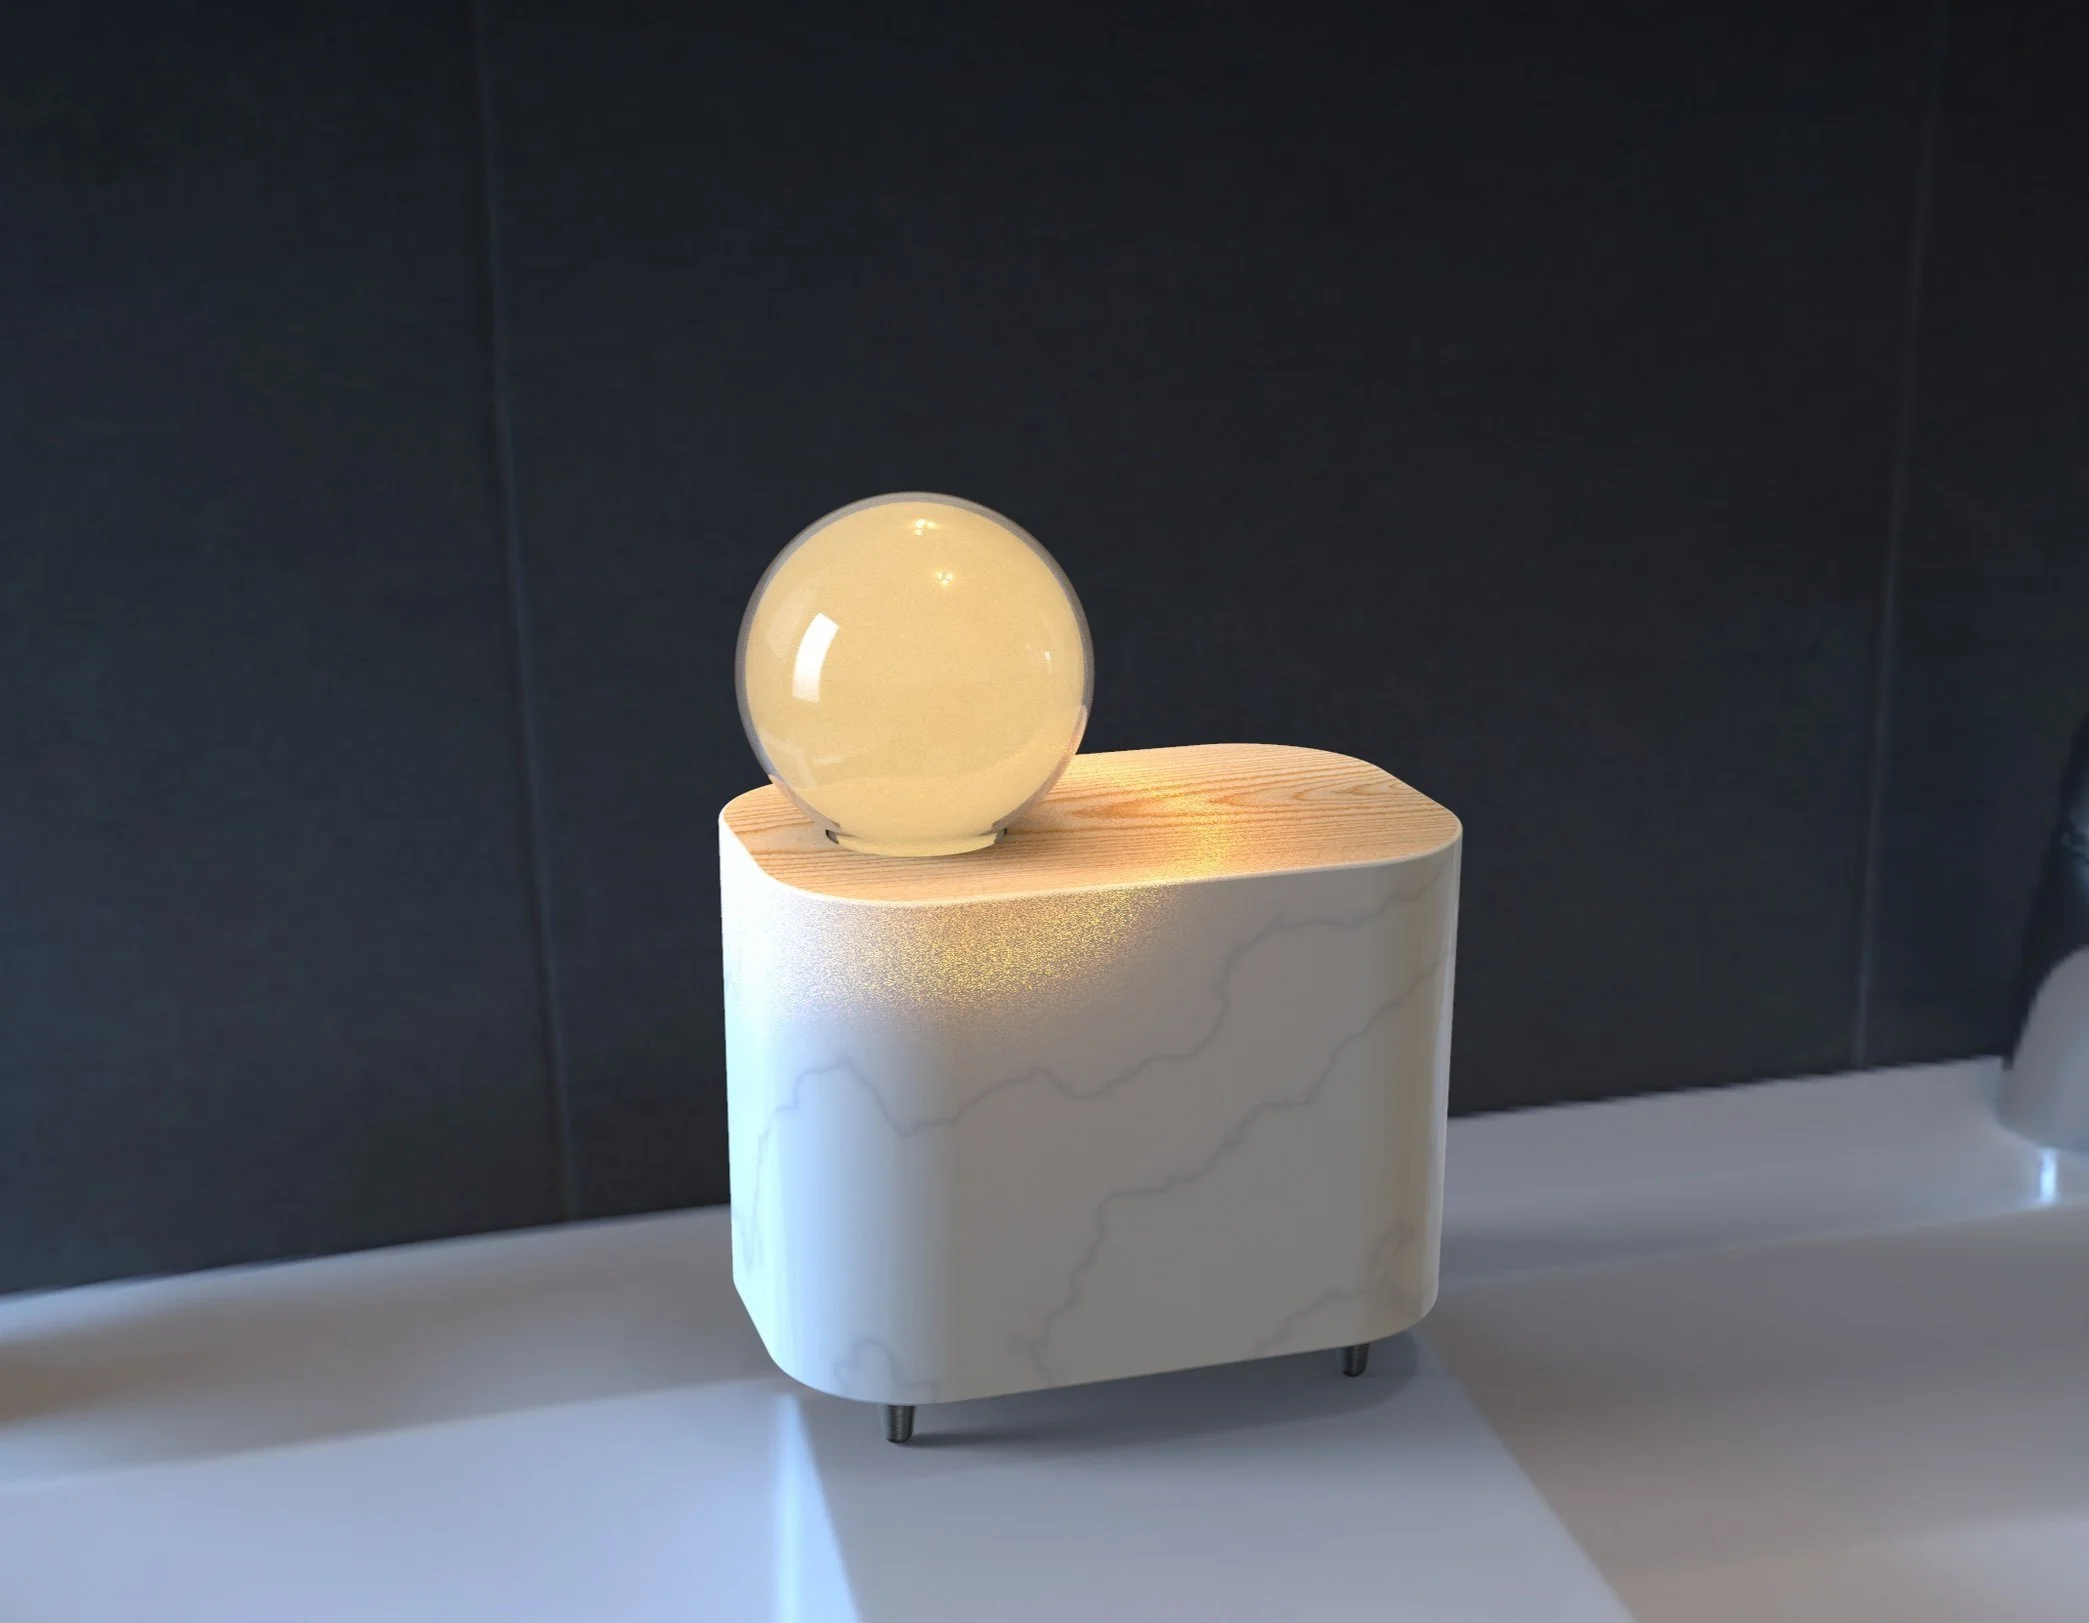
Self-Adjusting Lamp
Arduino project.


