Sun Lamp
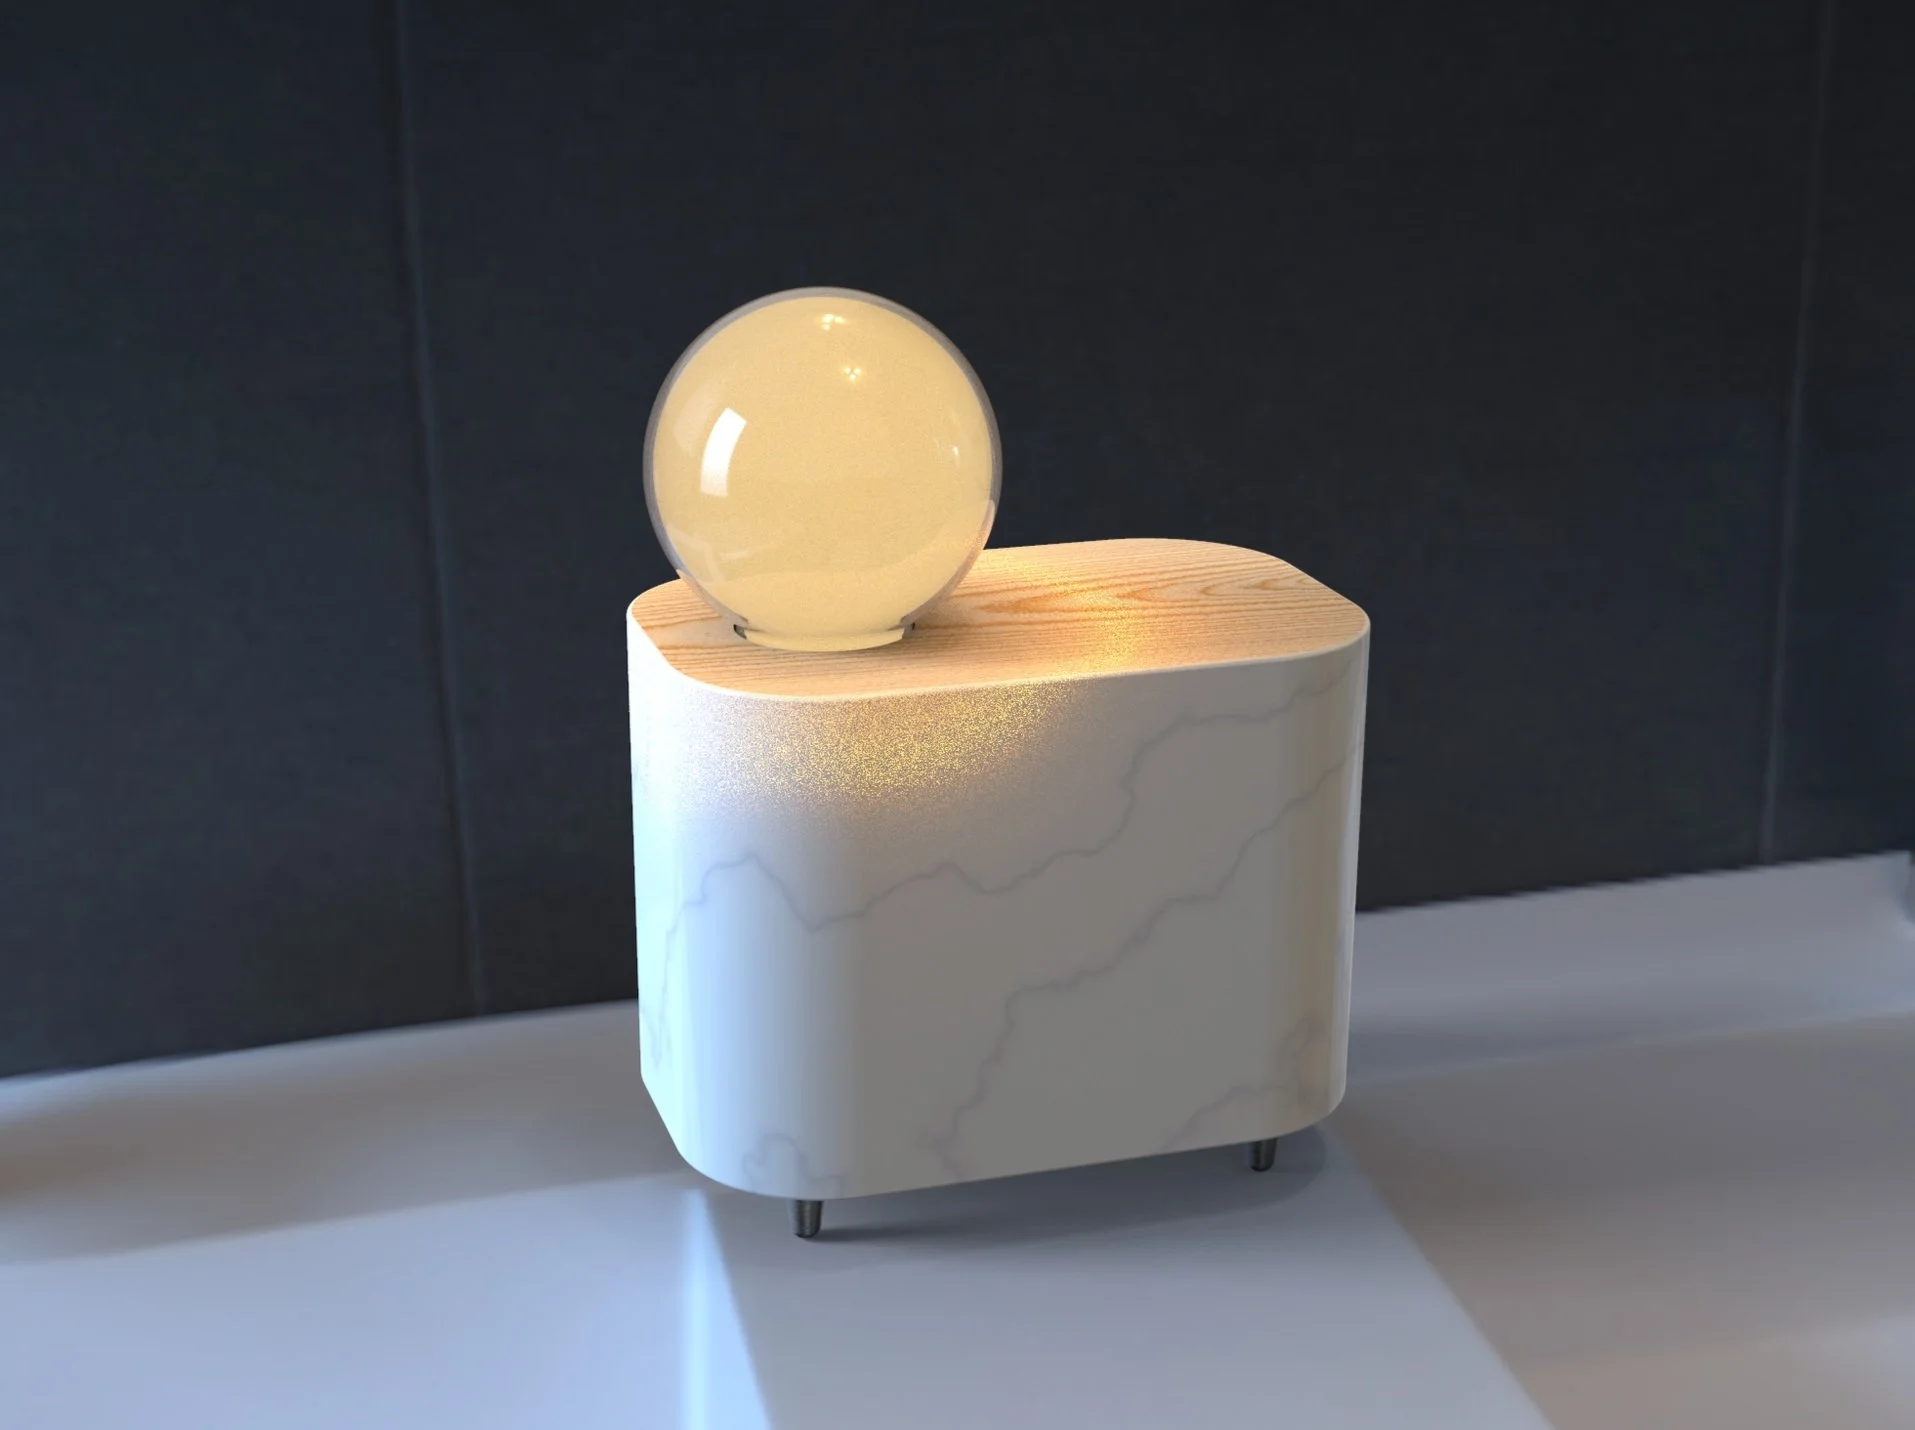
Sun lamp is a light fixture that automatically get’s brighter as the room gets darker.
Type: Solo passion project & school work.
Time: 4 weeks
Mentor: Jesse Harding
The Problem
My best friend felt down because they live in Rochester NY where the weather is mostly gloomy. I wanted to try and create something that can make their daily life a little better. ❤️
My Solution
A light fixture that automatically get’s brighter as the room gets darker. When one is feeling down, everyday tasks get much more difficult. Even if this is a small change, some feeling of comfort can be better than nothing.
Materials Used
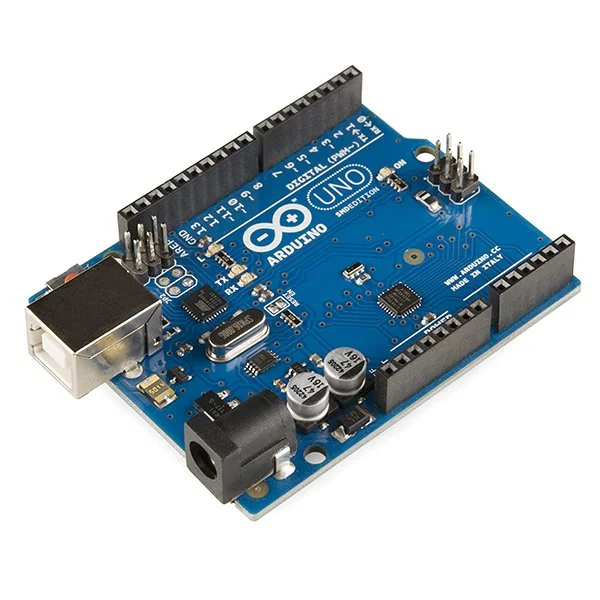
Arduino
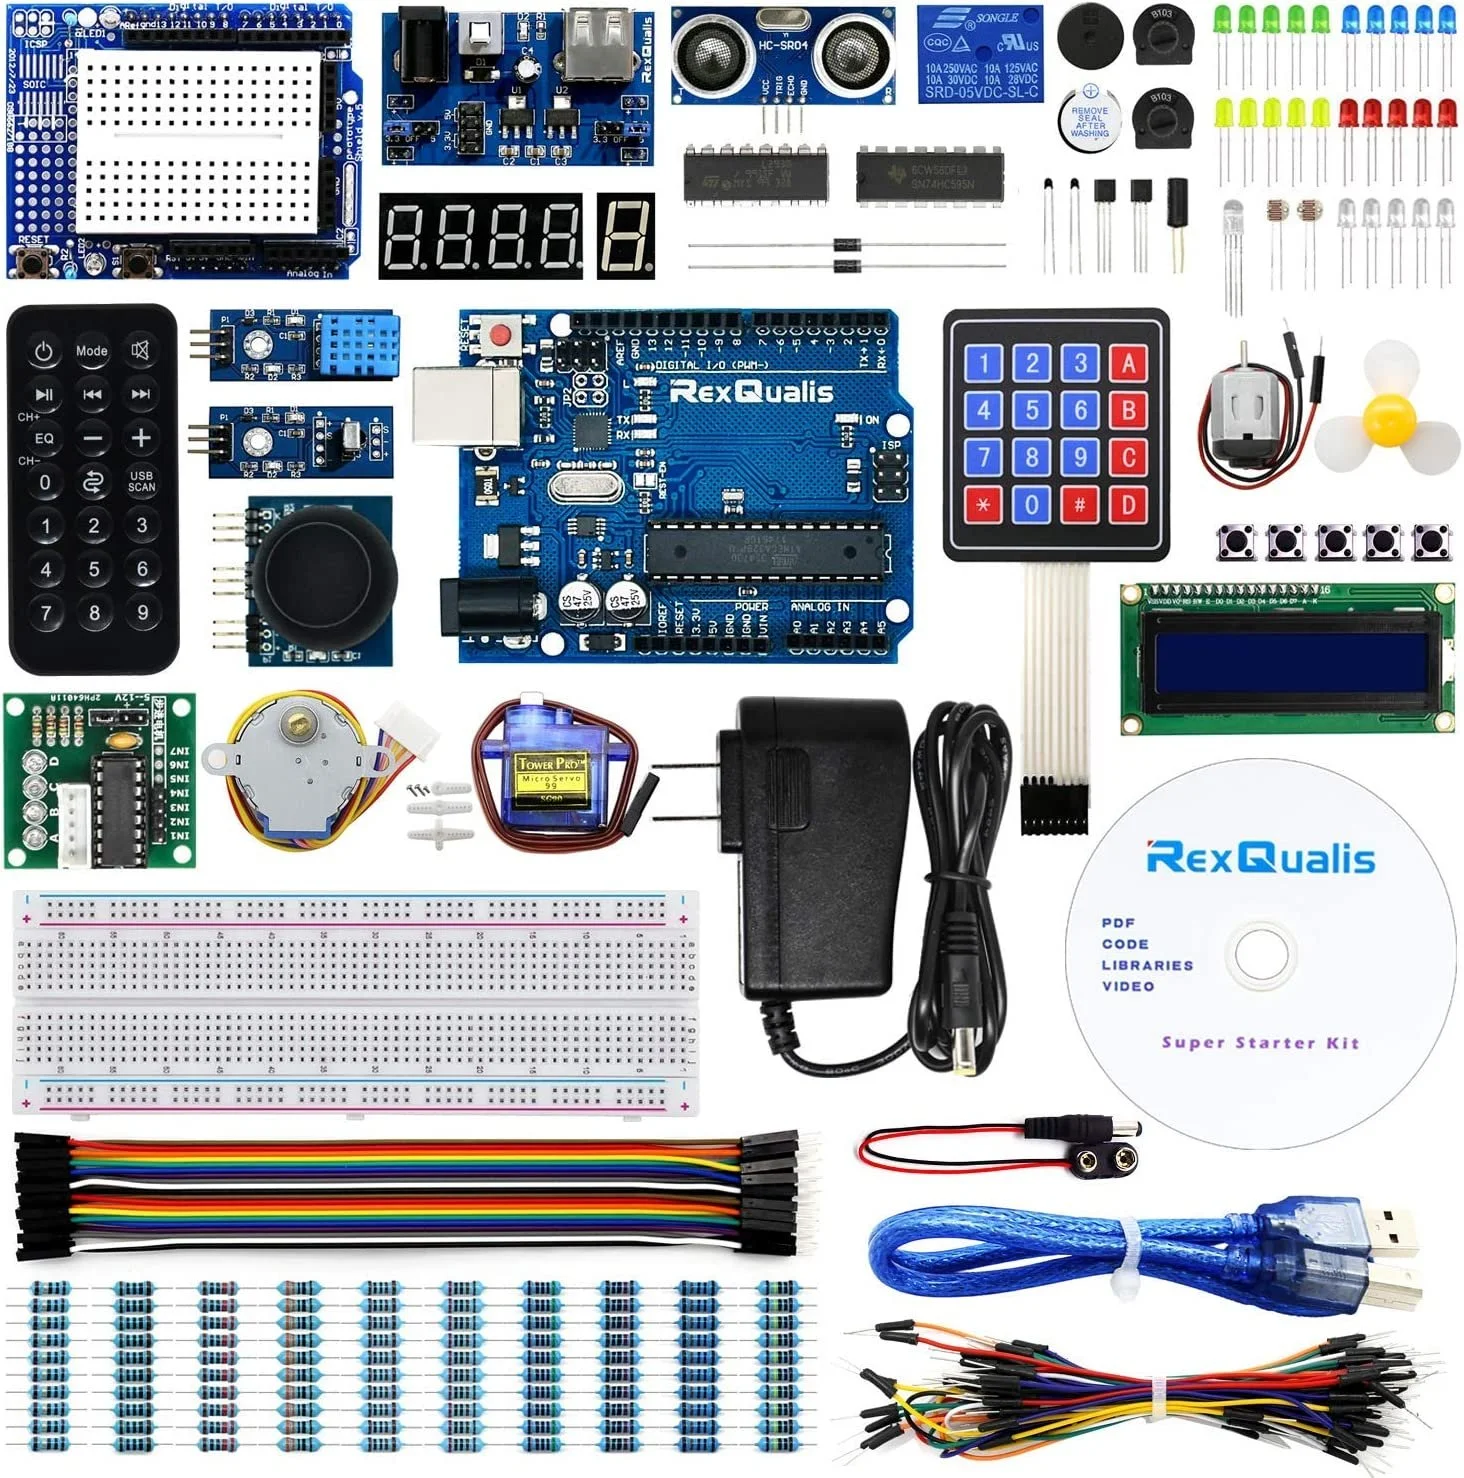
Arduino Kit
Nails
Screwdriver
Saw
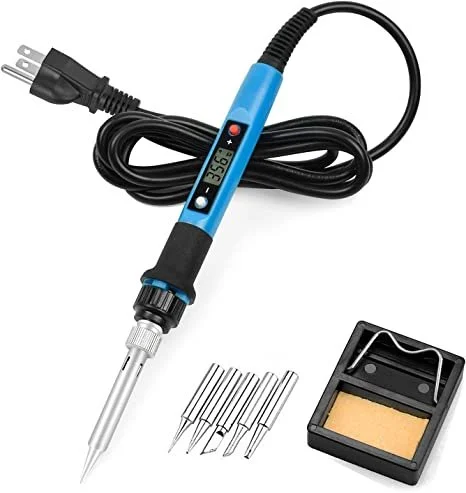
Soldering Iron
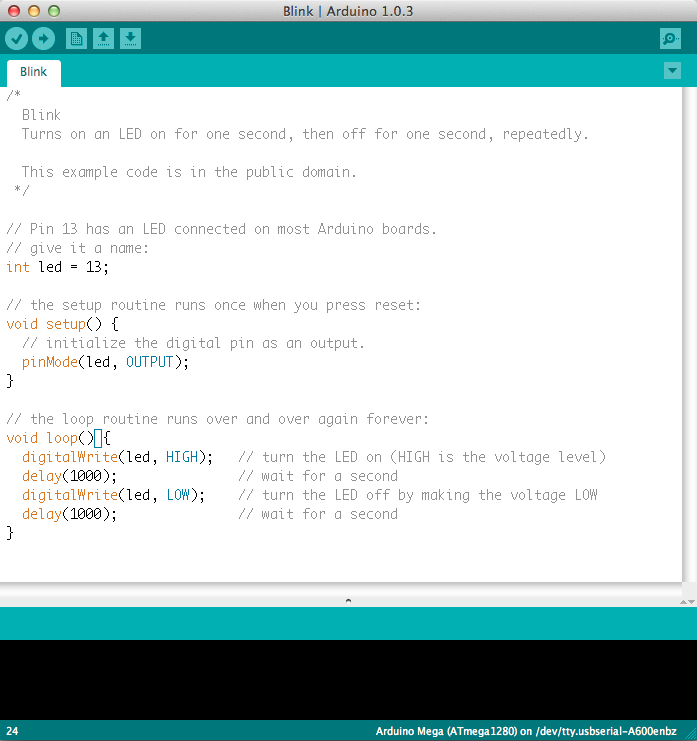
Arduino Program
Laptop
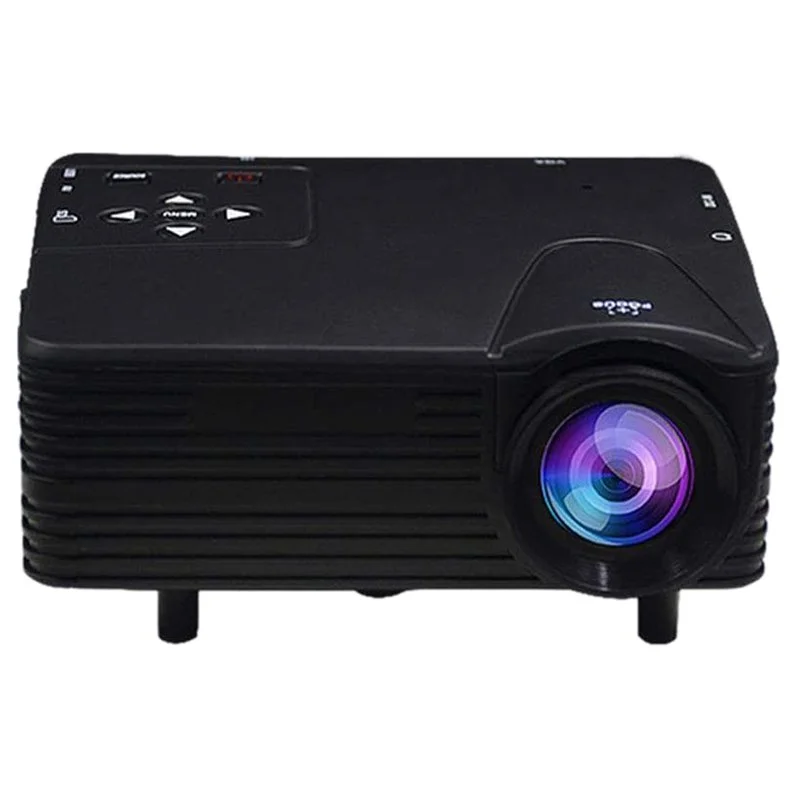
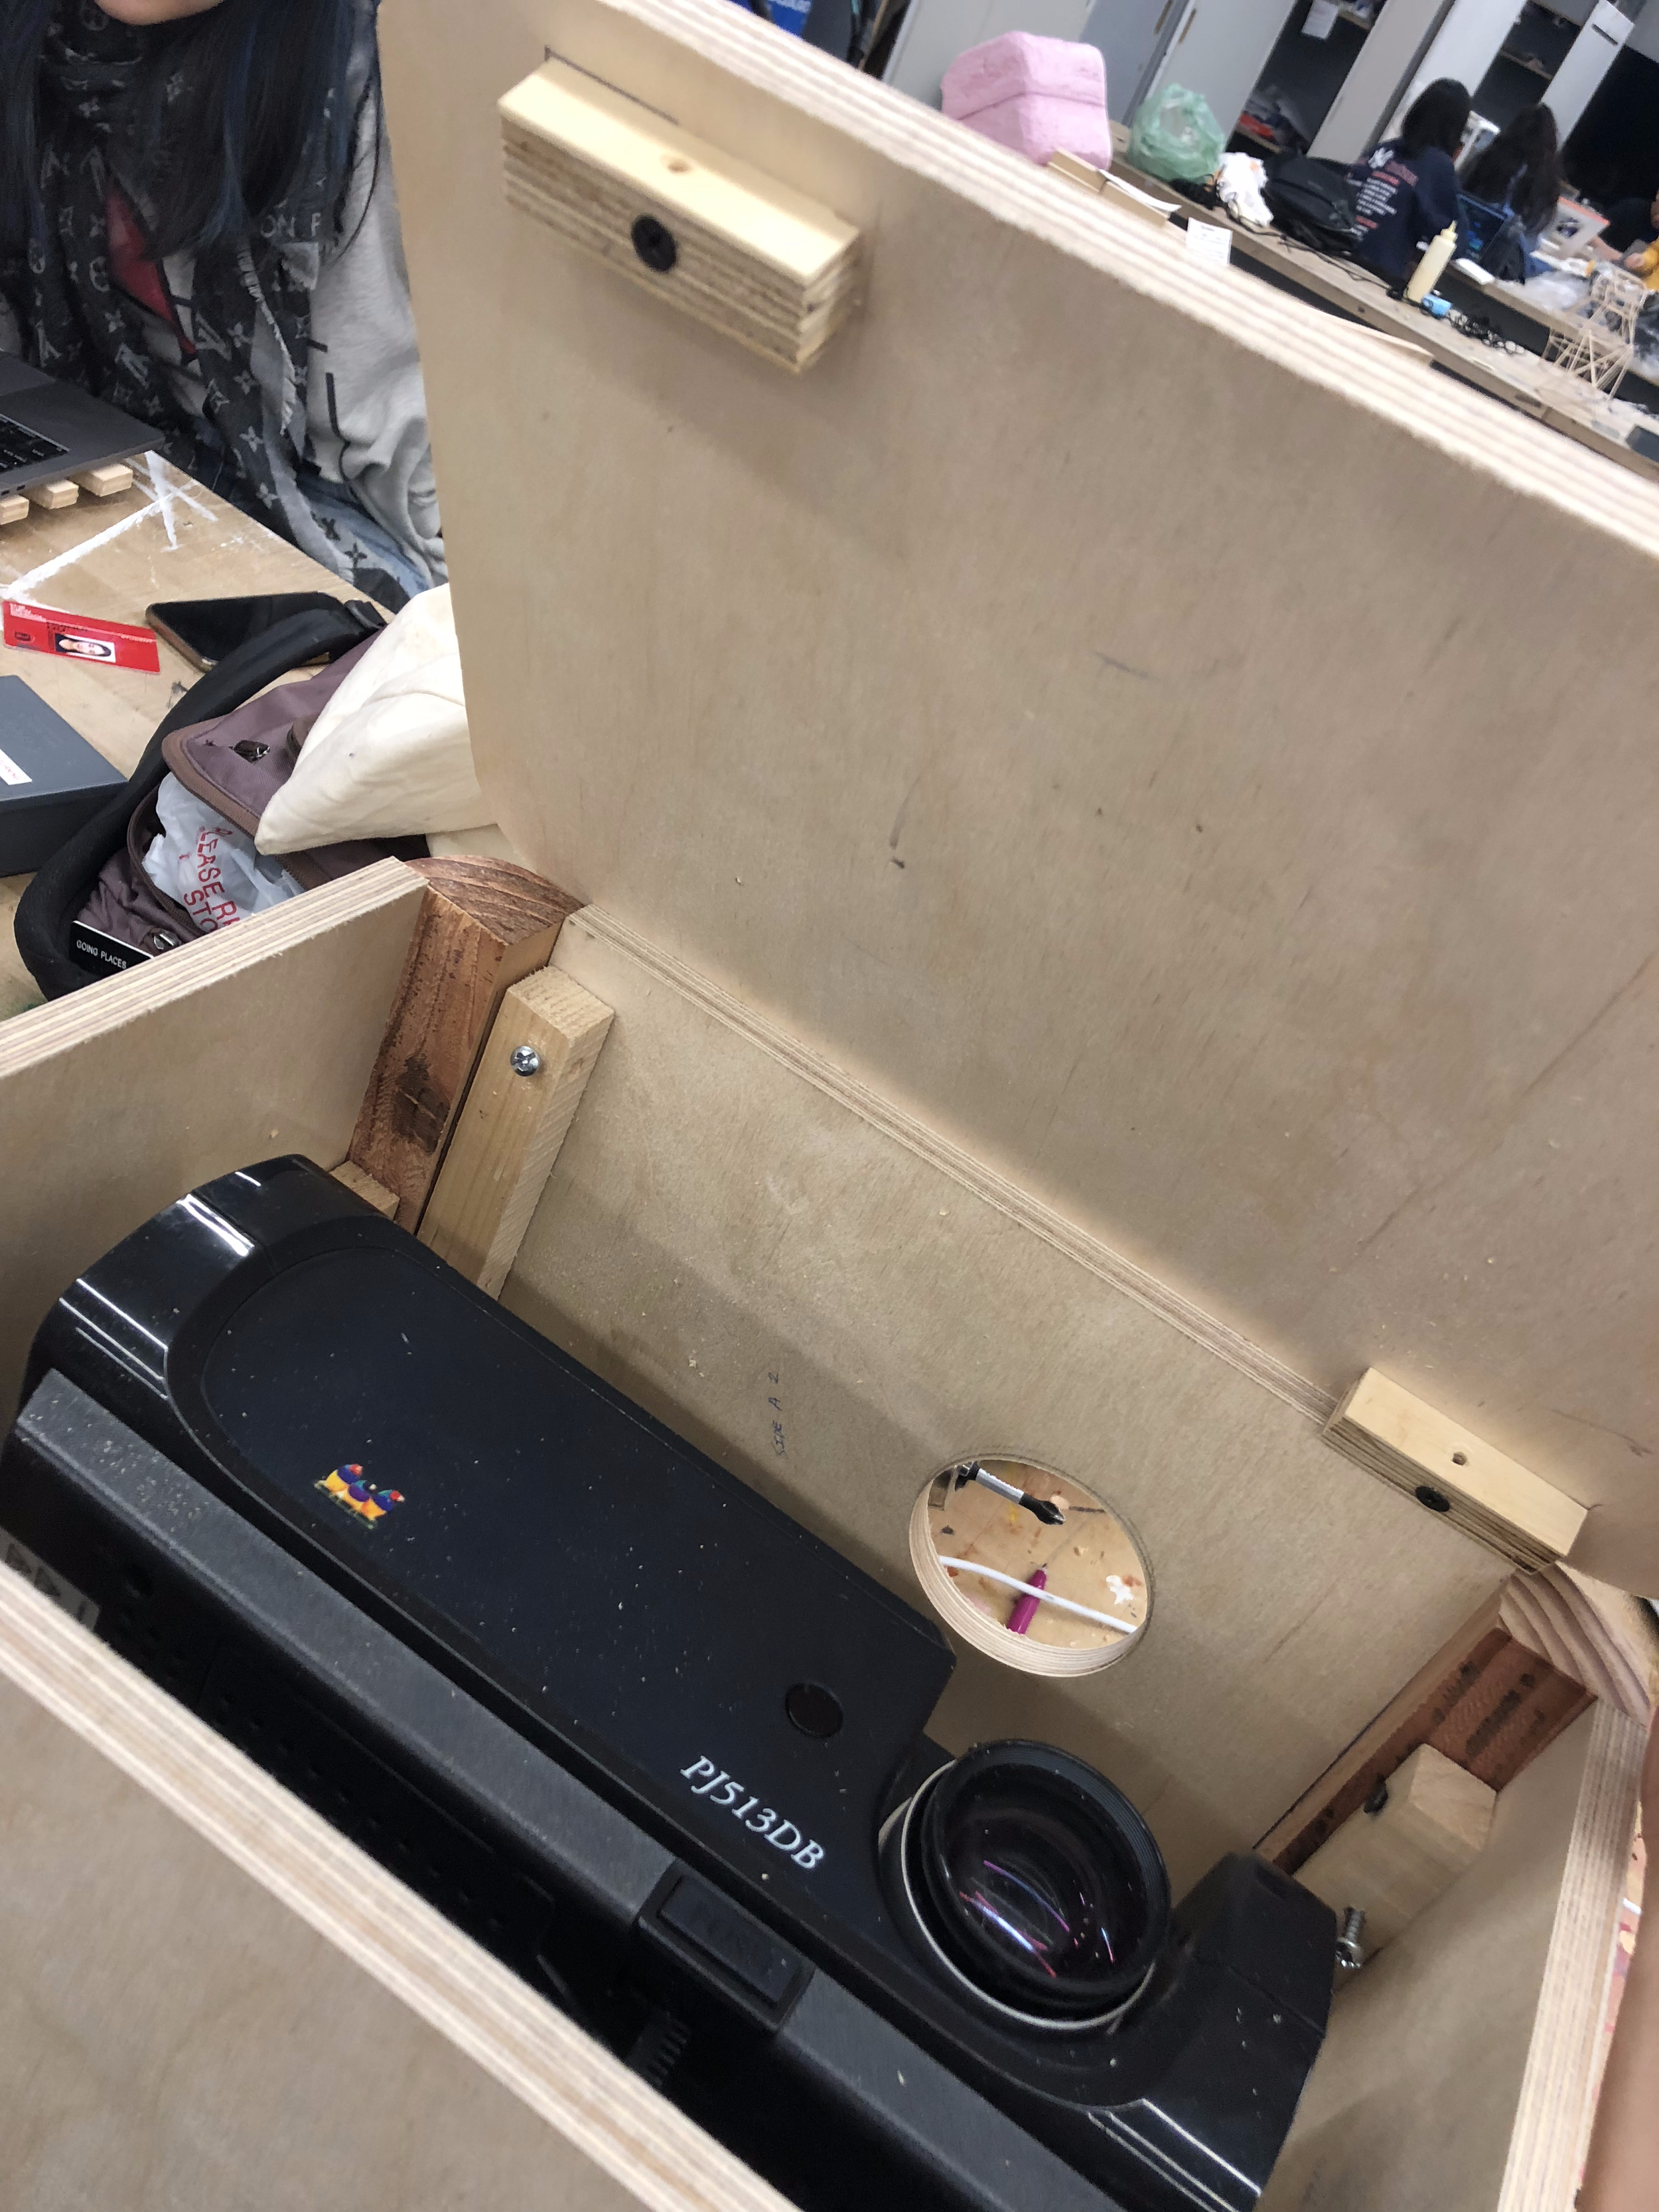
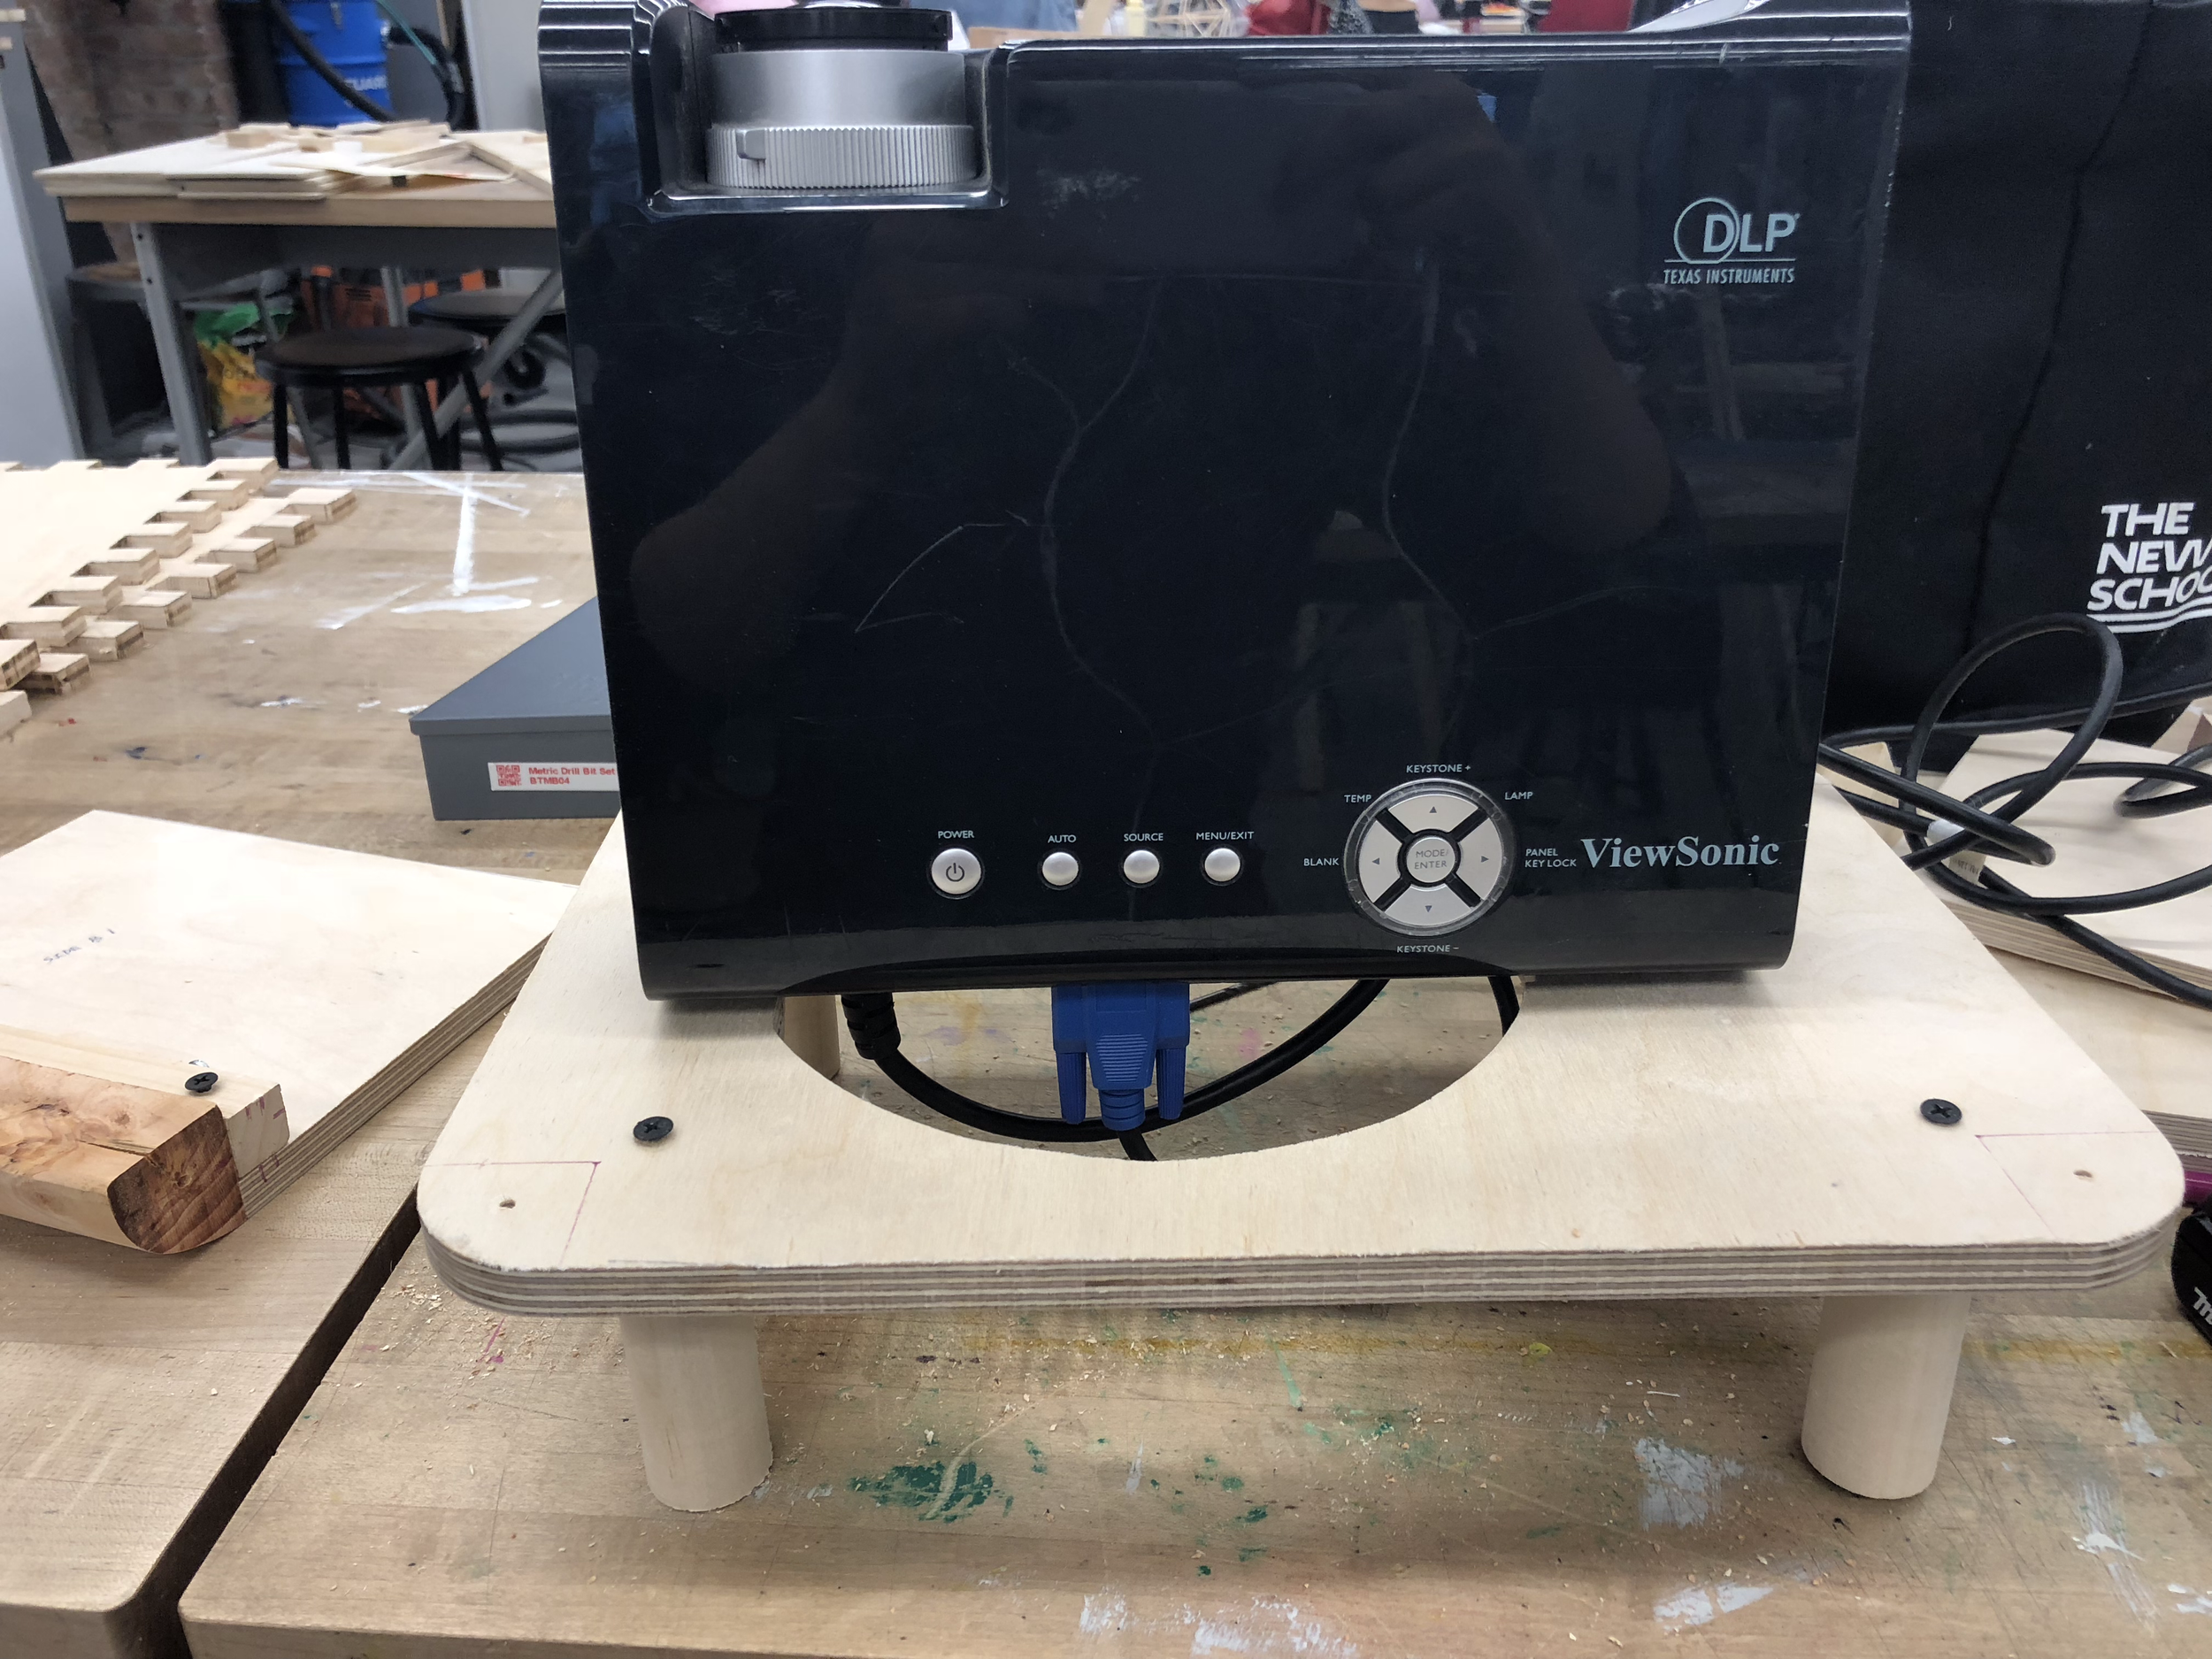
Projector
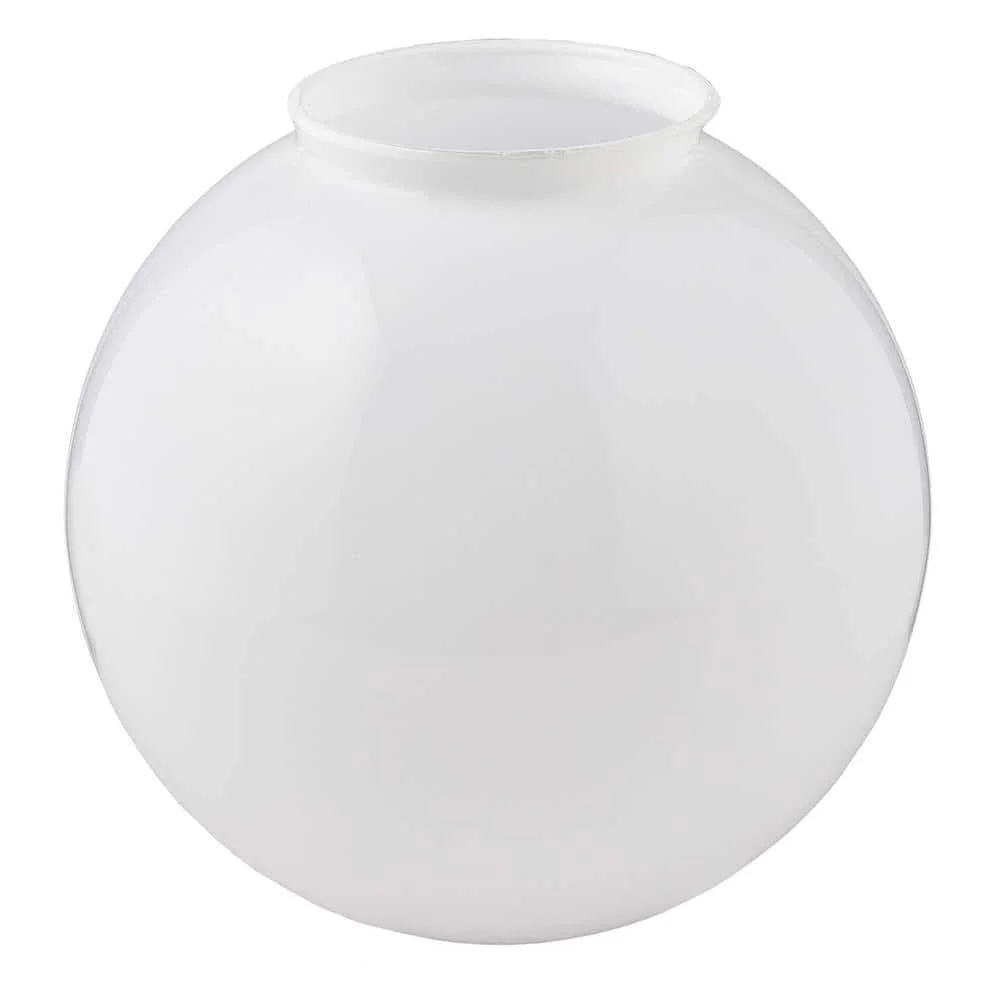
Glass Lamp Shade
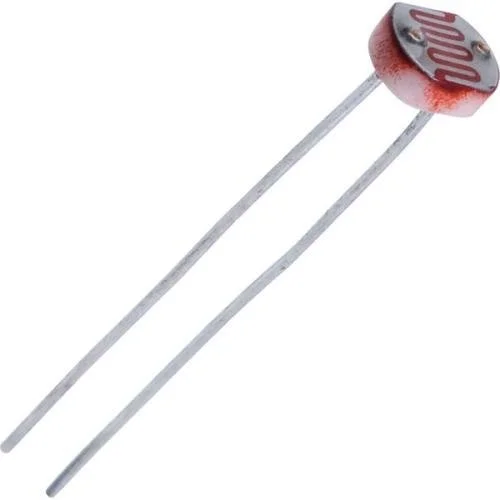
Photoresistor
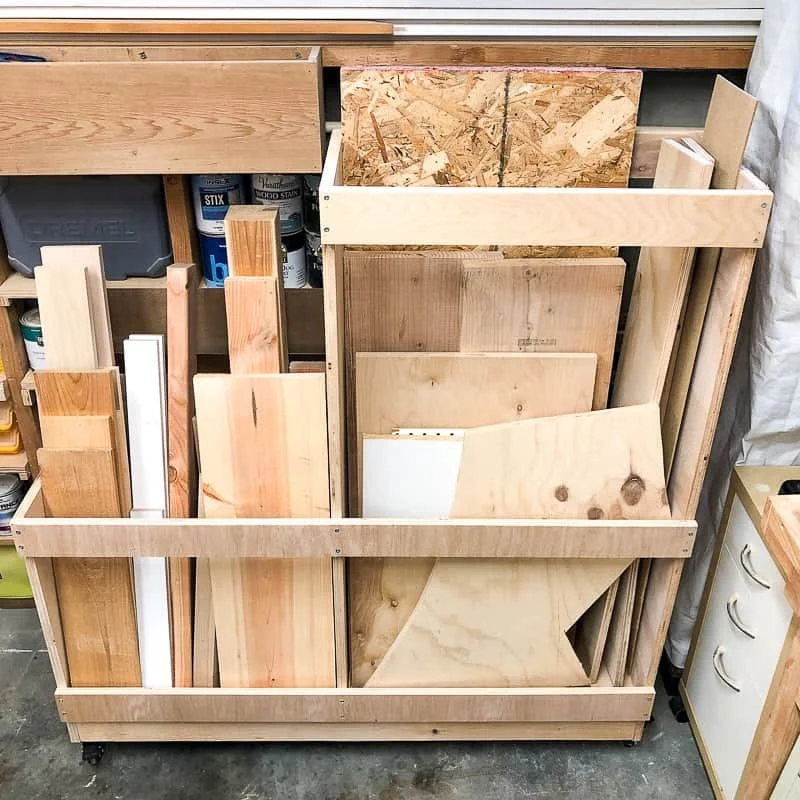
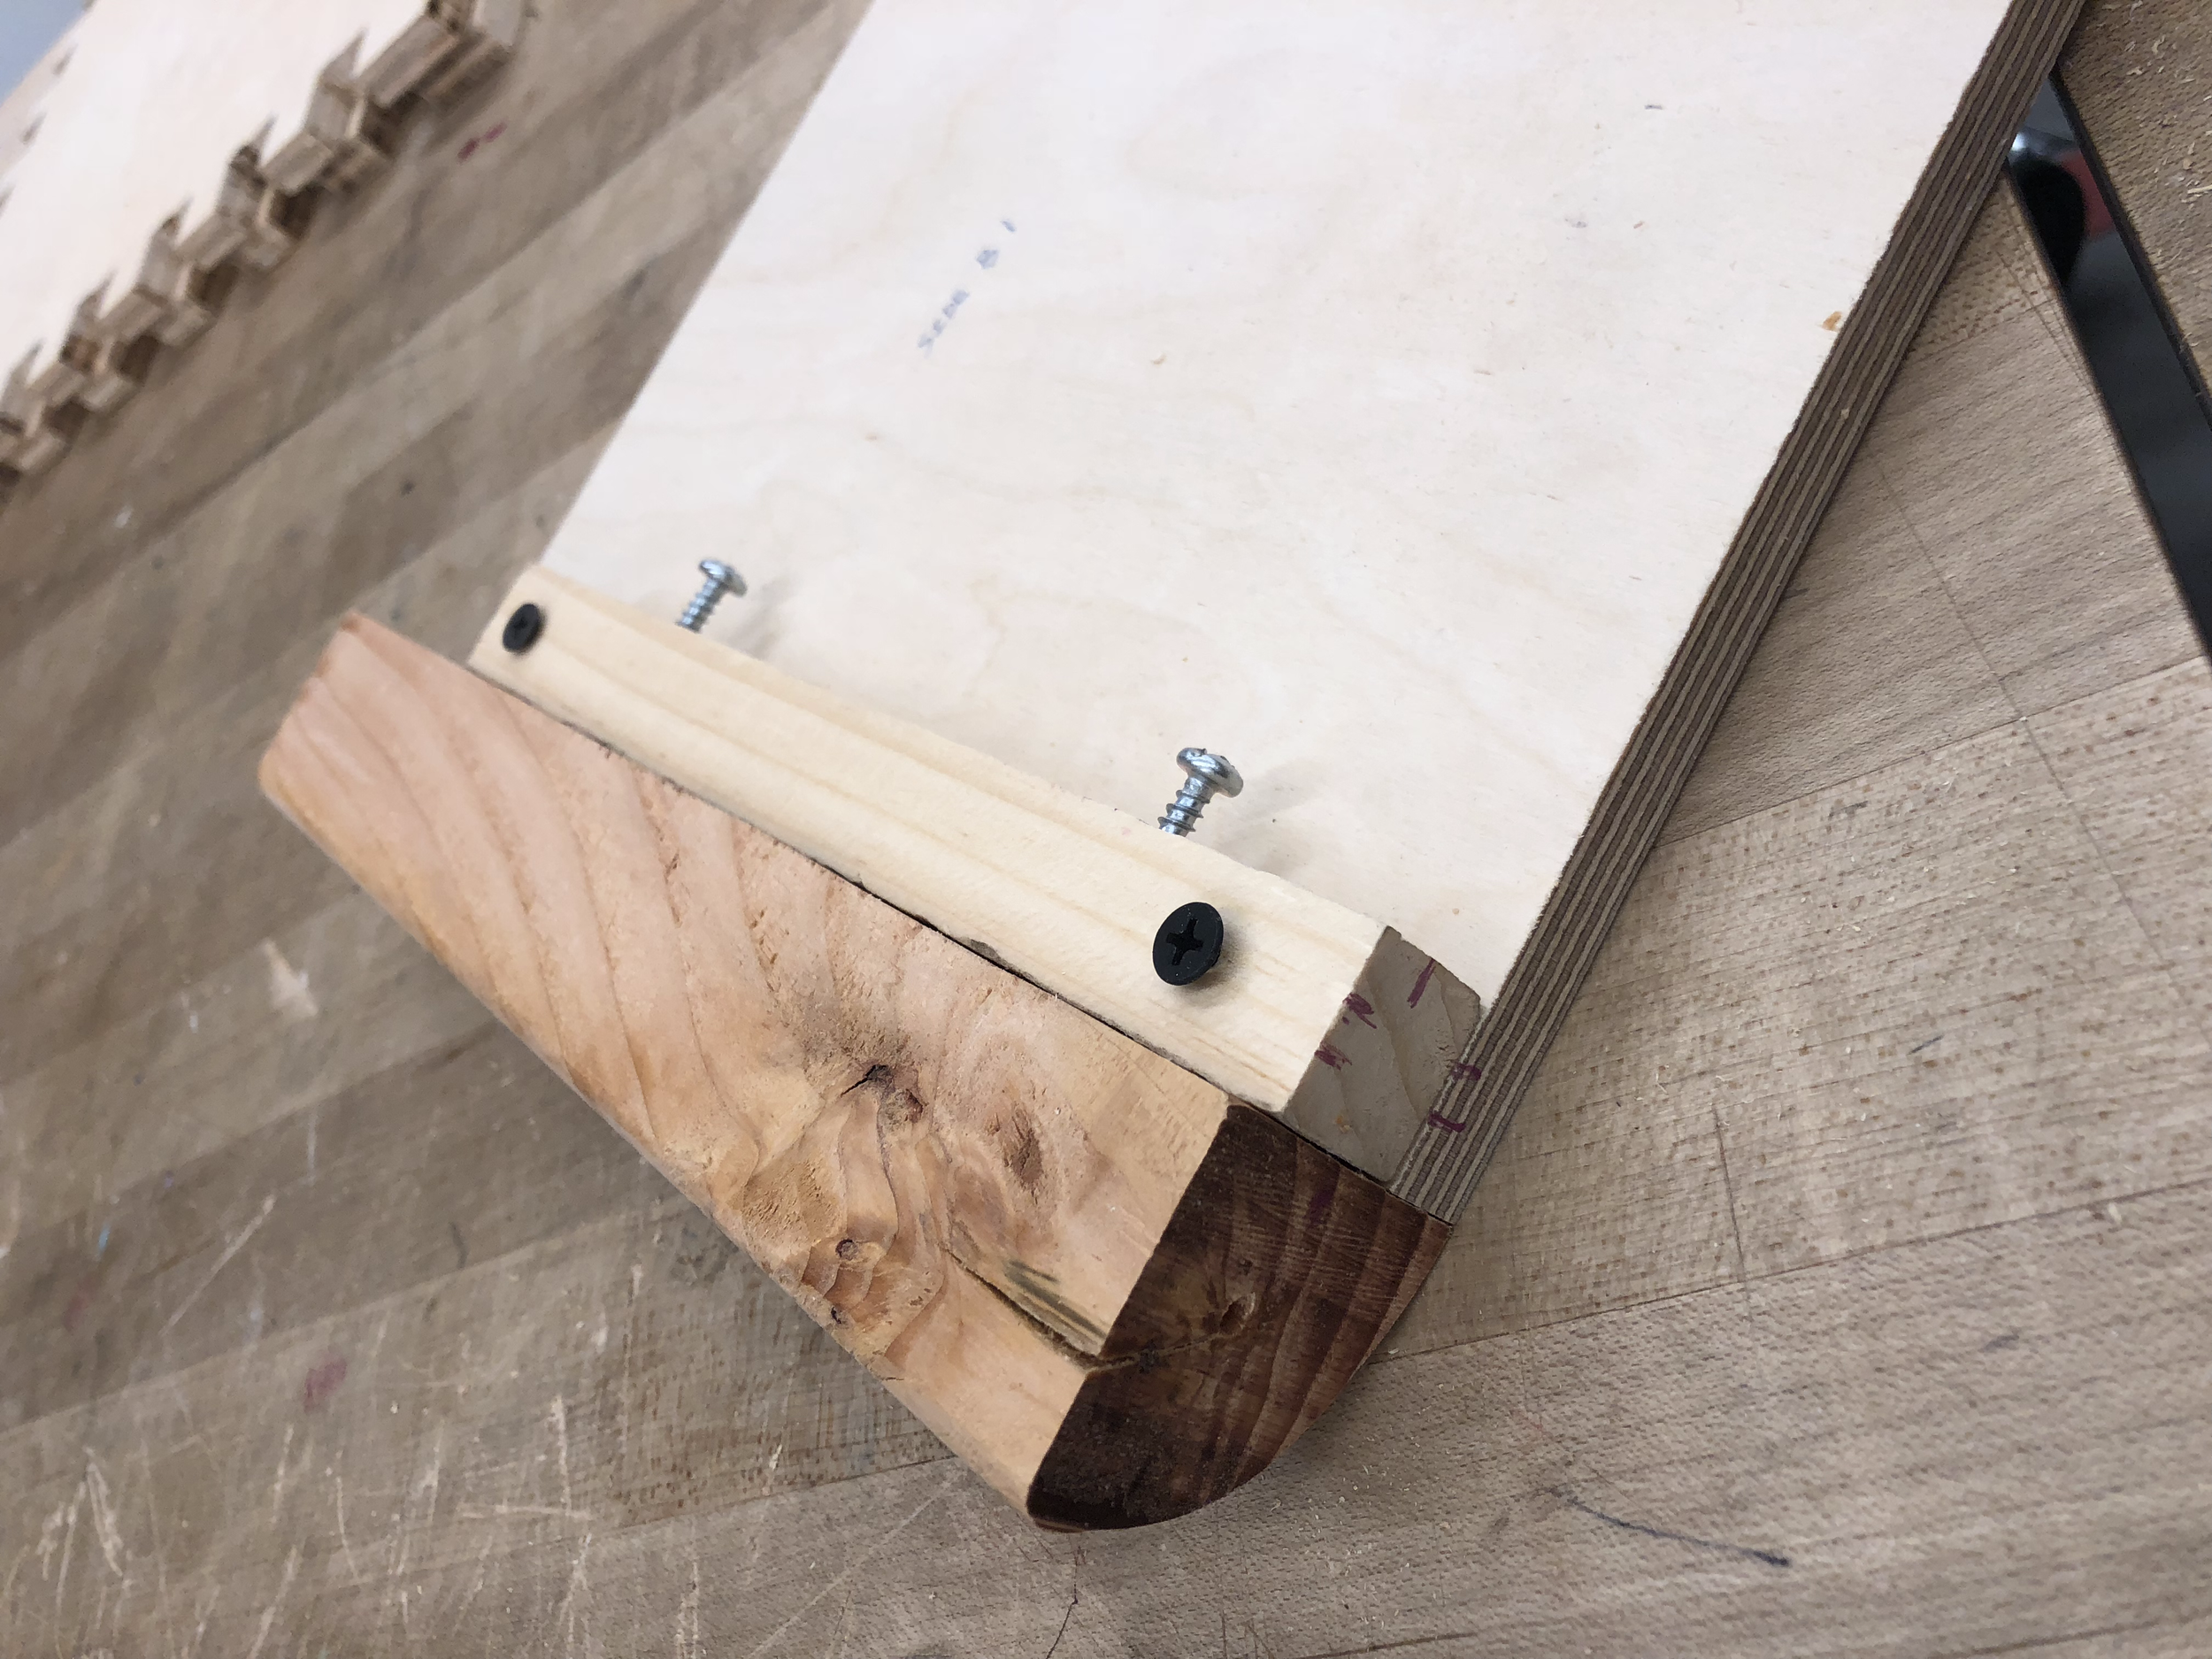
Free Scrap Wood
Tools Used
The Process
Research
First, I researched for inspiration.
Light Therapy: Special light boxes have been proven to help with Seasonal Affective Disorder.
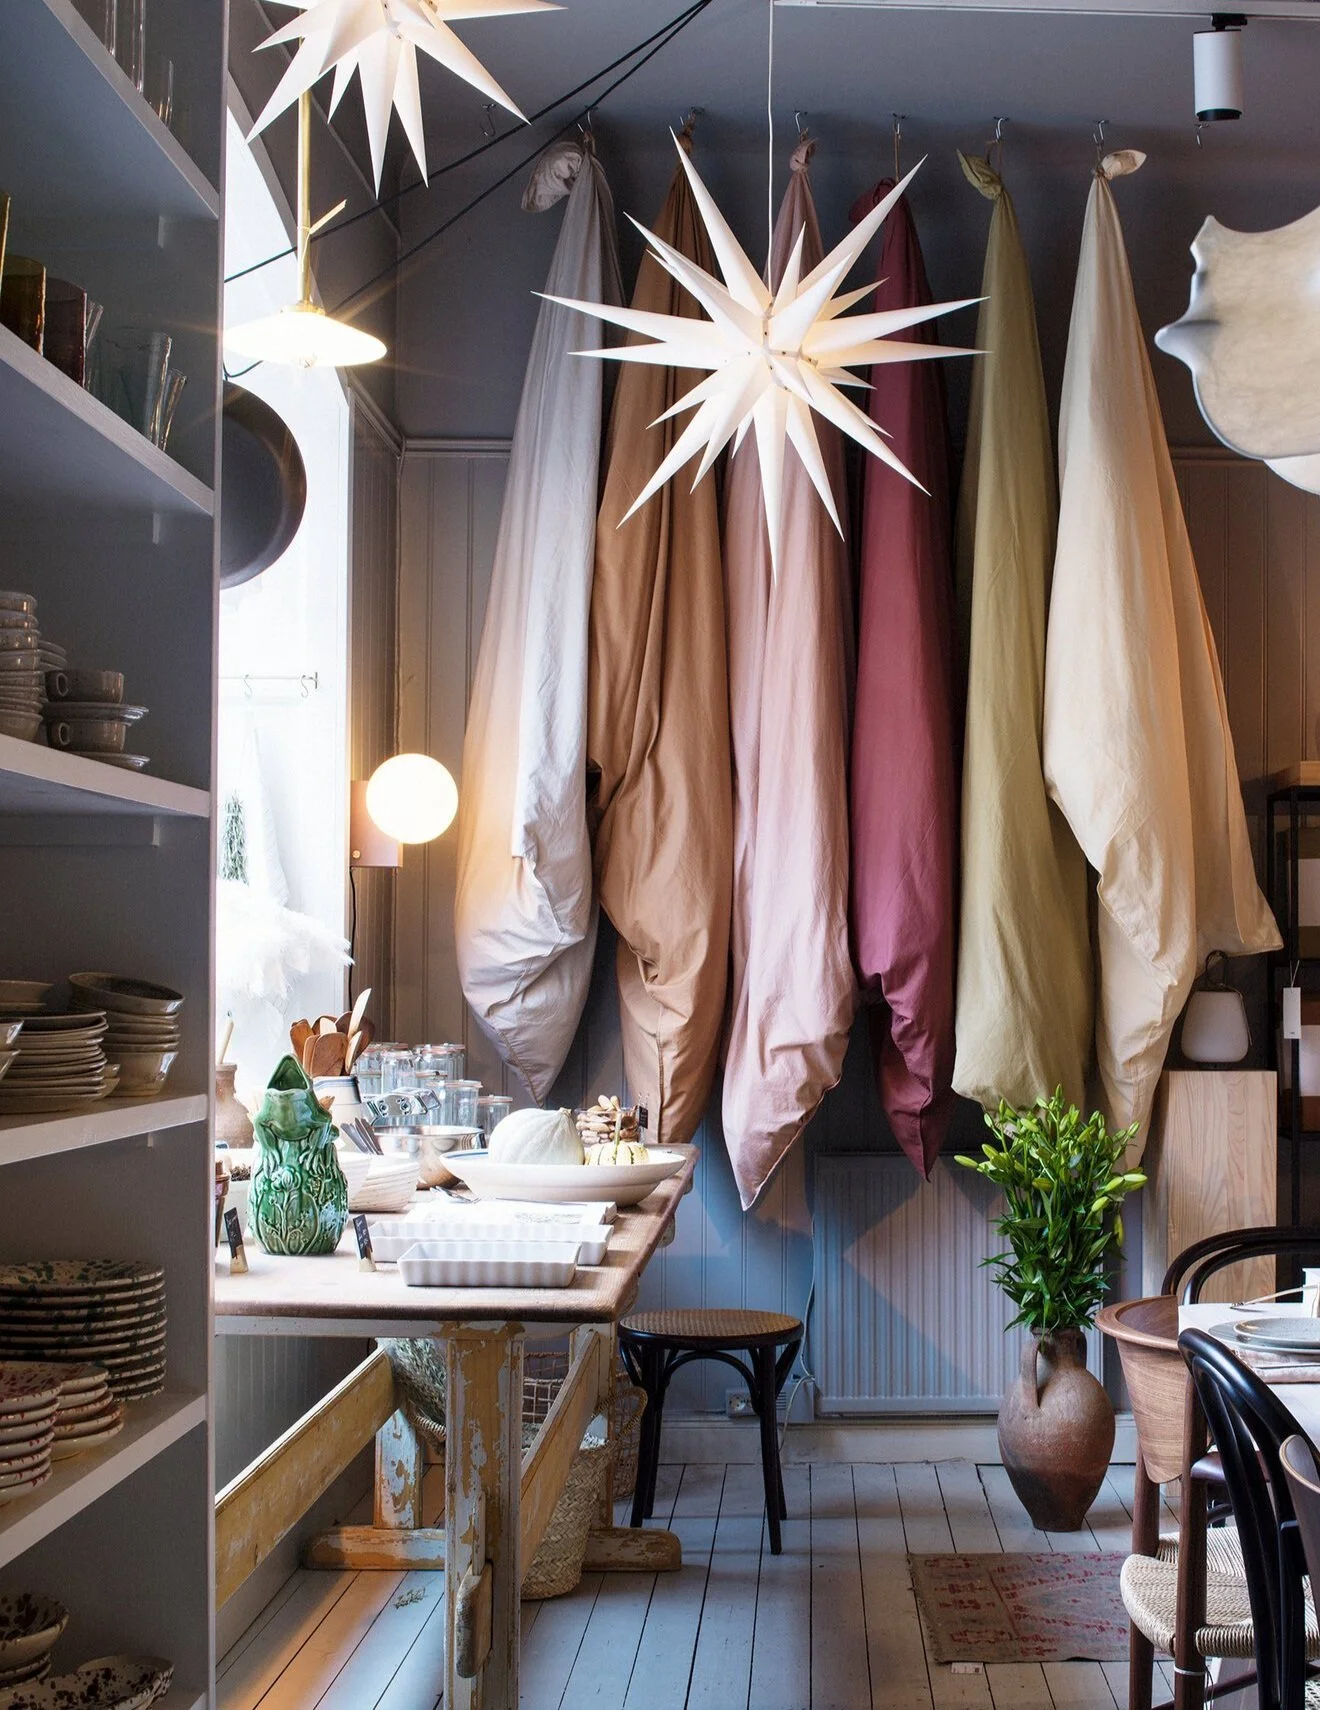
In Denmark, they have a culture of valuing coziness called “Hygge”. They achieve this through thoughtful interior décor choices.
Olafur Eliasson’s Weather Project was inspired from his experience in London and their lack of sunlight.
Mood board
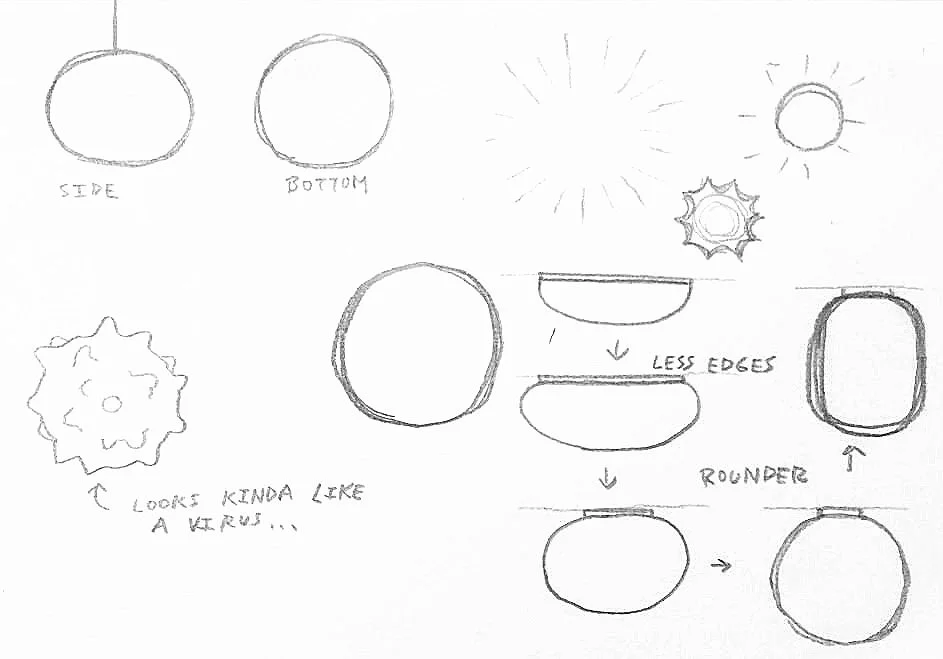
Combining Hygge, the Weather Project, Light Therapy, and electronics, I’ve come up with the idea to create a cozy light that automatically turns on and off depending on how bright the room is. I chose yellow/orange light, rather than blue light to evoke warmth and positivity. I chose round corners over sharp corners because the sun is round and round corners feel safer than pointy ones.
Ideation
Sketches were inspired by mid-century modern furniture which often uses simple shapes.
Fabrication
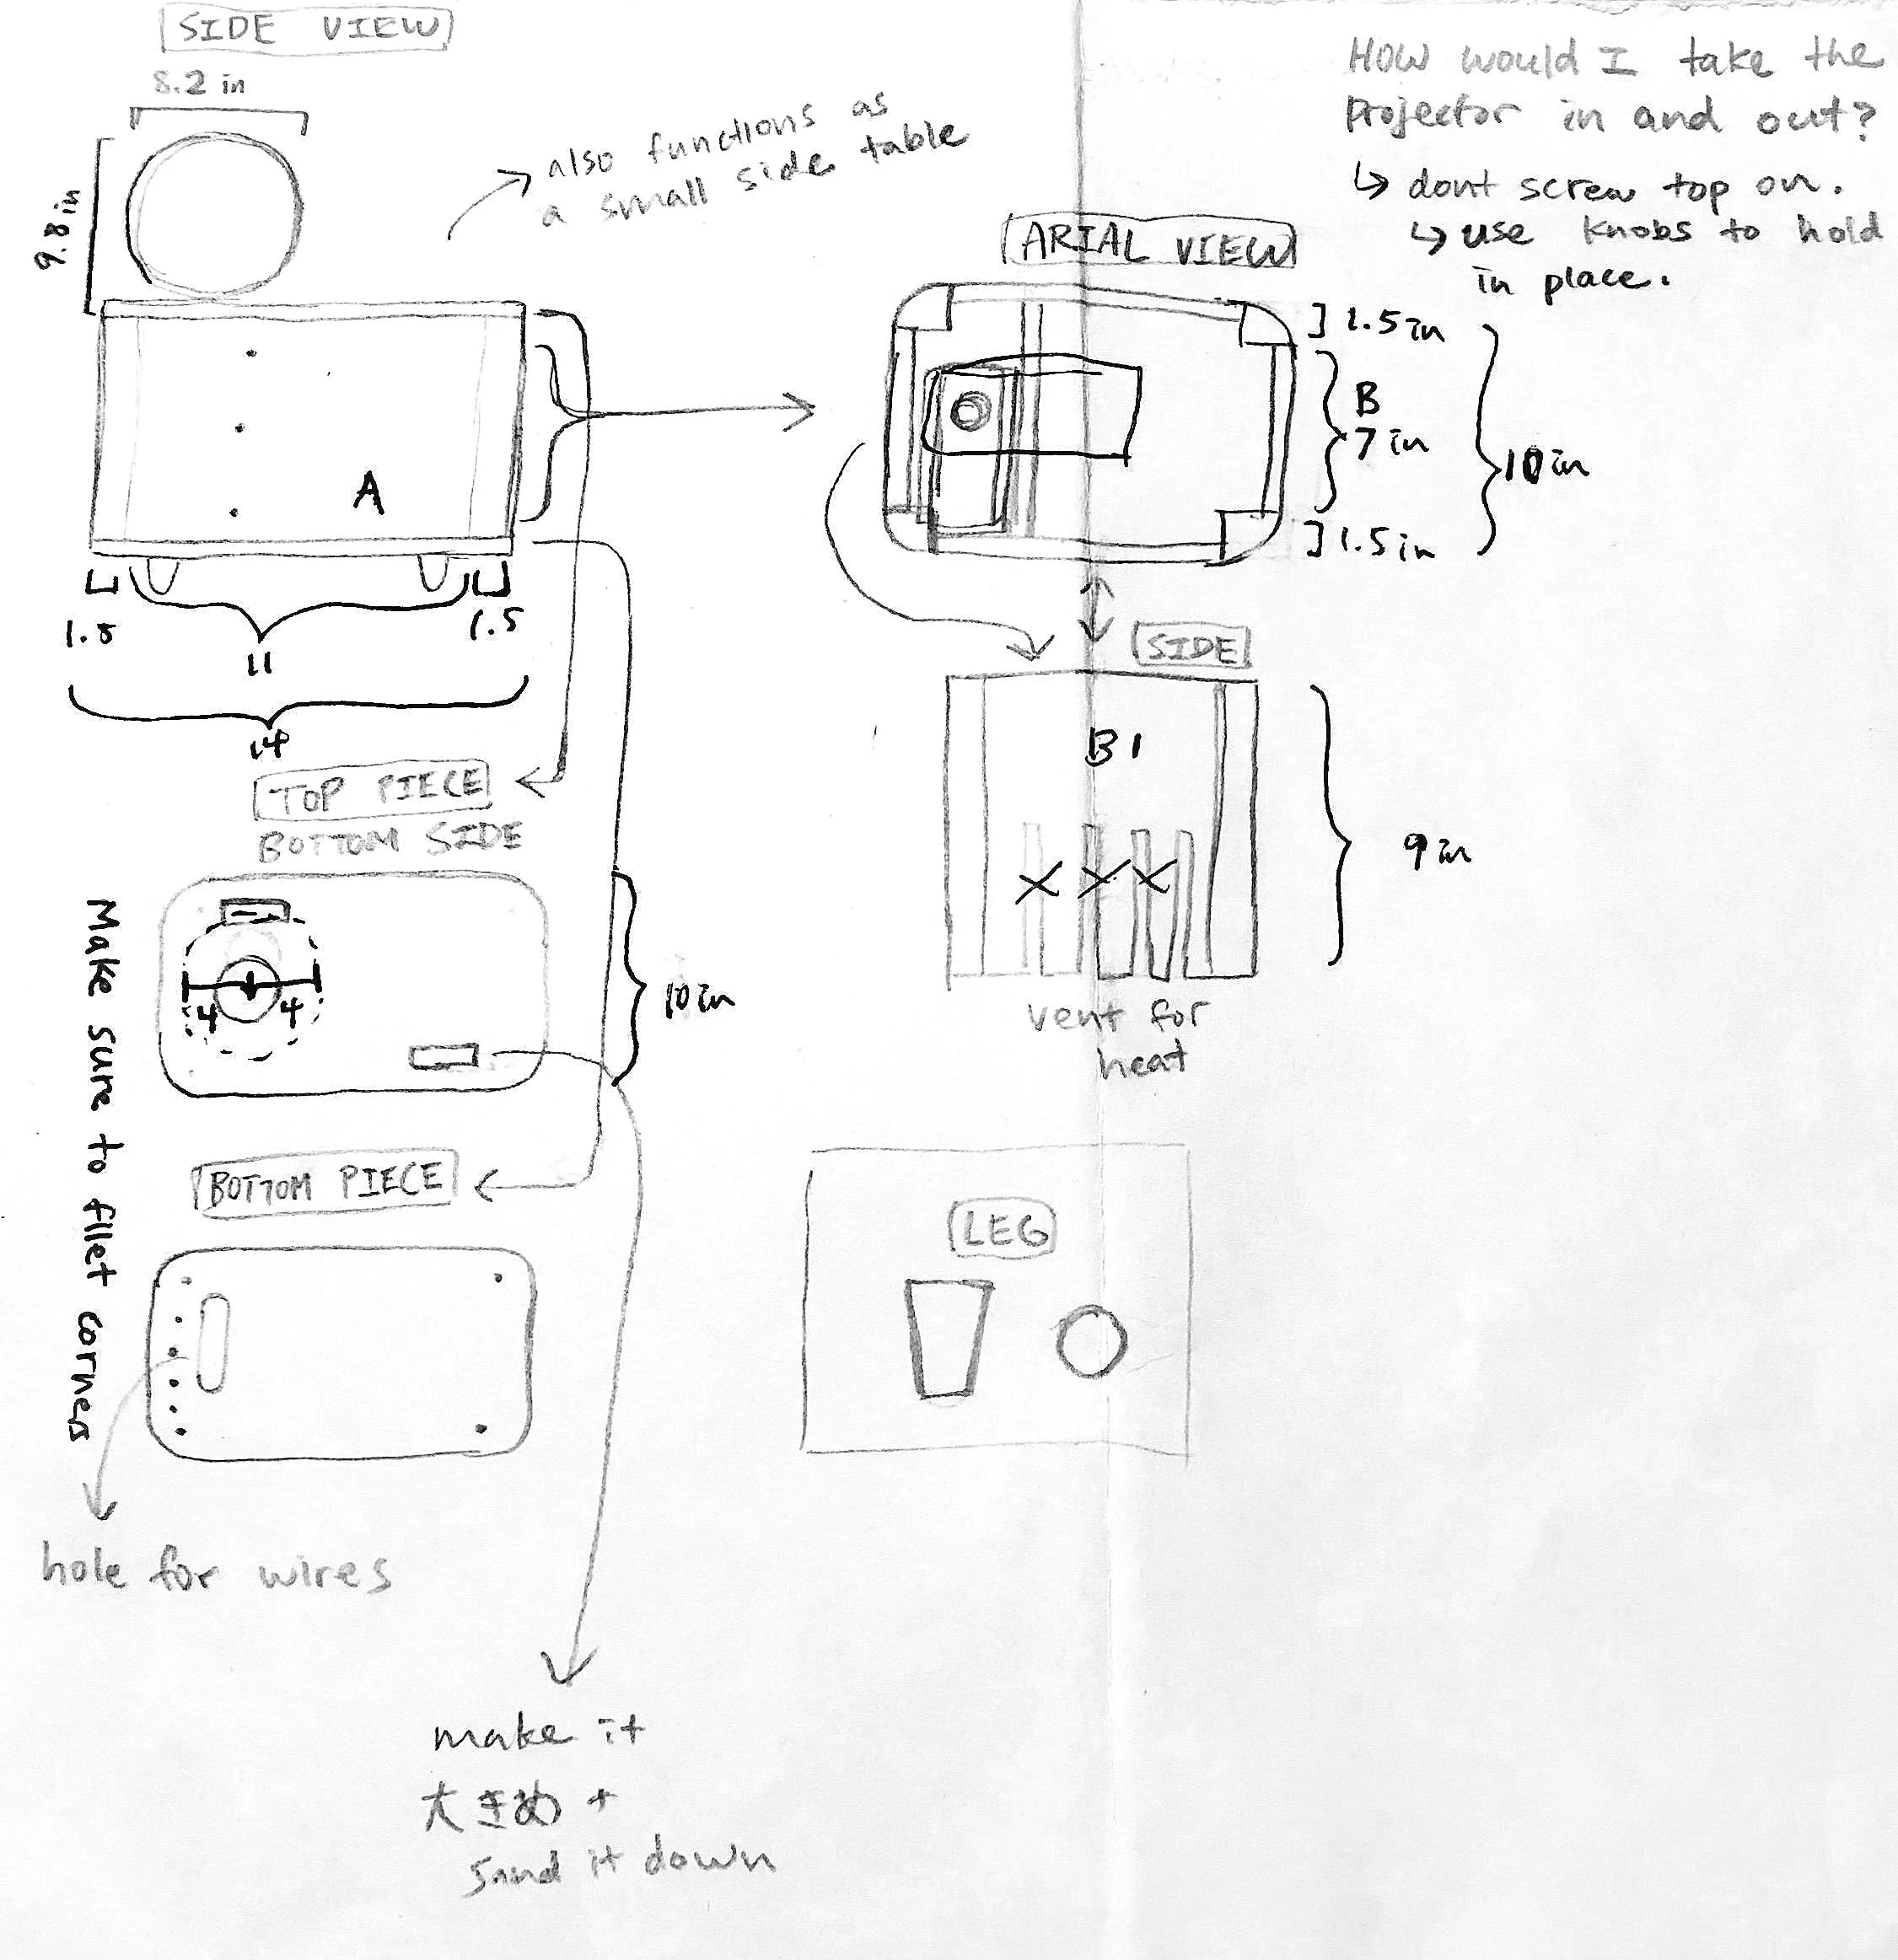
1. First, I thought about how I’ll could keep this project under $20. I achieved this by getting free wood scraps from the school workshop, borrowing my professor’s projector, and buying a $7 lamp shade on amazon.
2. Next, I sketched out the specific design. I measured everything for precision. Then, I wrote down the steps to take to put this puzzle together successfully.
3. I cut, sanded, and screwed everything together. I haven’t done much wood work before this so I was happy that it came out well!
Arduino & Coding
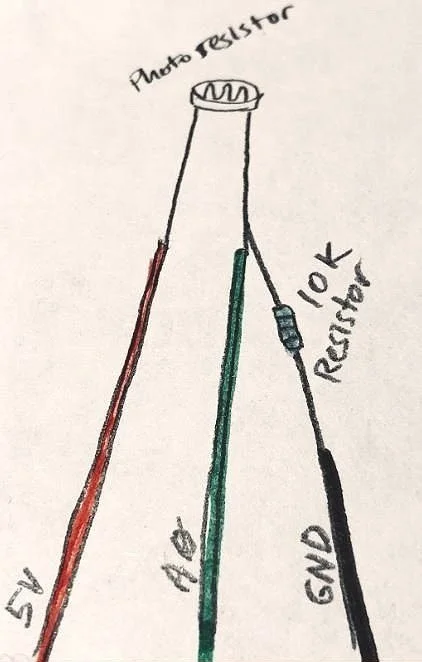
1. First, I sketched out how the electronics would work.
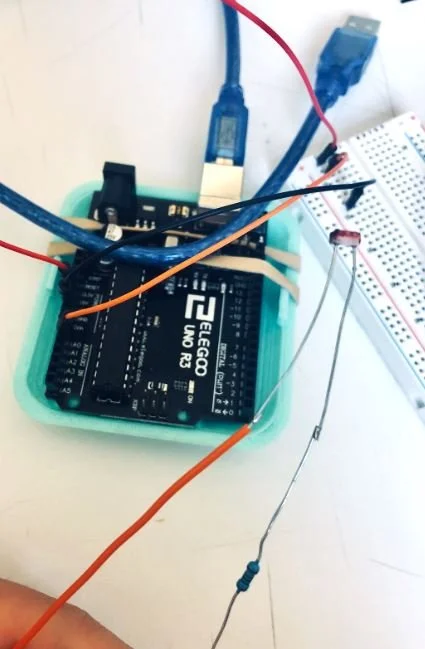
2. Then, I soldered the Arduino components.
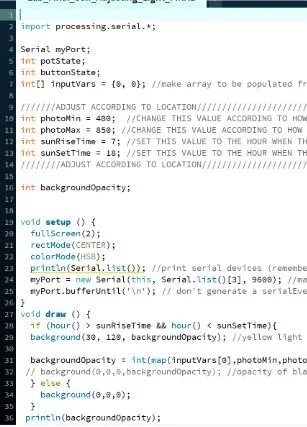
3. Lastly, I programmed.
Next Steps
Use GPS so that it automatically sets times.
Create a container for photoresistor.
Create another version with larger lamp.
I Love This Project Because
It opened me to a whole new world of creating solutions to everyday issues through more complex methods like electronics.
See next:


